AppCode
Introduction
This tutorial demonstrates how to create a python flask app with machine learning. Included is a dataset for predicting flower species. We will use it to predict between three species.
We will build and run a python-built machine learning model using the Flask framework in a web application step-by-step. The information in all sections is intended to introduce you to web programming with python. In this article, I will also show you how to run the application we have developed on the localhost with the sample code blocks in the article. You can also use the GitHub repository that I have prepared for you at the end of the article. Then if you’re ready, here we go!
- Installing the Flask Framework
- Creating Python Backend for Web App
- Creating Web App Frontend With HTML, CSS and Bootstrap
- Running Flask on Localhost
- Final Words
Installing the Flask Framework
Fun Fact: An easy way to check if python is installed is to run the python –version command in the console window.
Flask installation can be done simply with the following pip. But before installing, you need to make sure you have python installed on your computer.
pip install FlaskCreating the Machine Learning Model
Before creating our machine learning model, it is necessary to install sklearn, NumPy, and pandas with “pip” to process the data set, perform mathematical operations, and apply machine learning models. If you’ve completed all the installation procedures, let’s dig deeper into the subject.
pip install sklearn
pip install numpy
pip install pandas
Now that we have completed the setups, we can build our model. We first need to call the libraries that we have installed with pip. As seen below, we perform the invocation using the import and from functions.
import numpy as np
import pandas as pd
from sklearn.ensemble import GradientBoostingClassifier
from sklearn import datasets
Using the Iris Dataset for Training
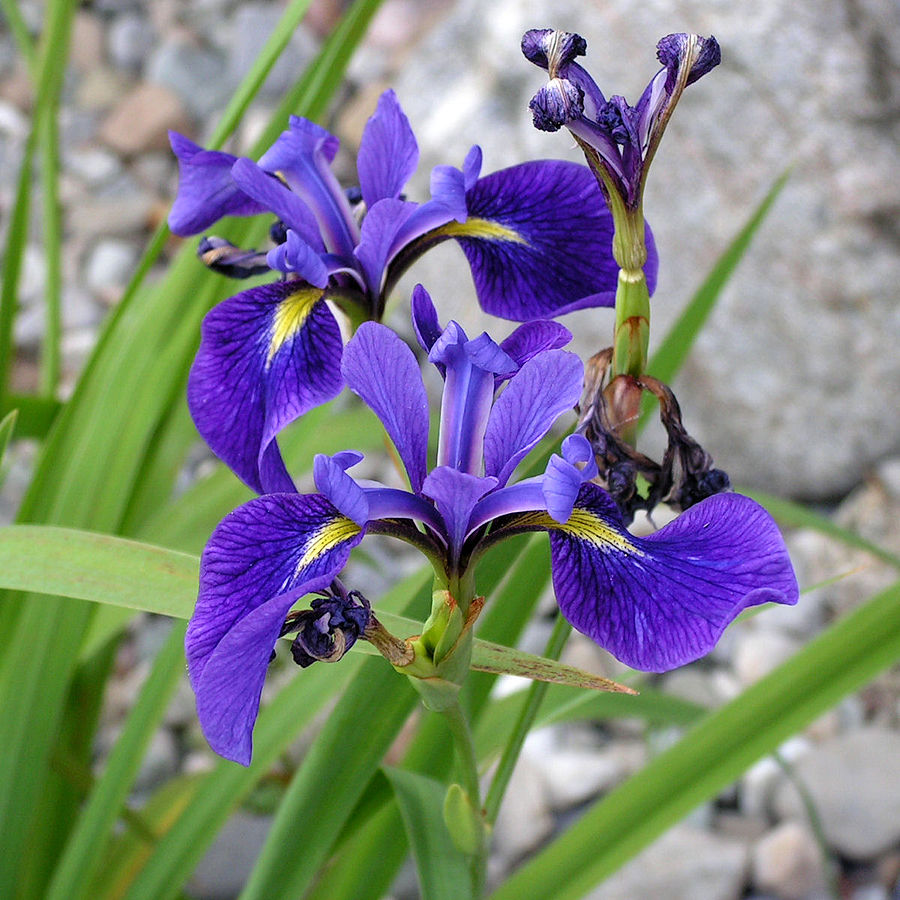
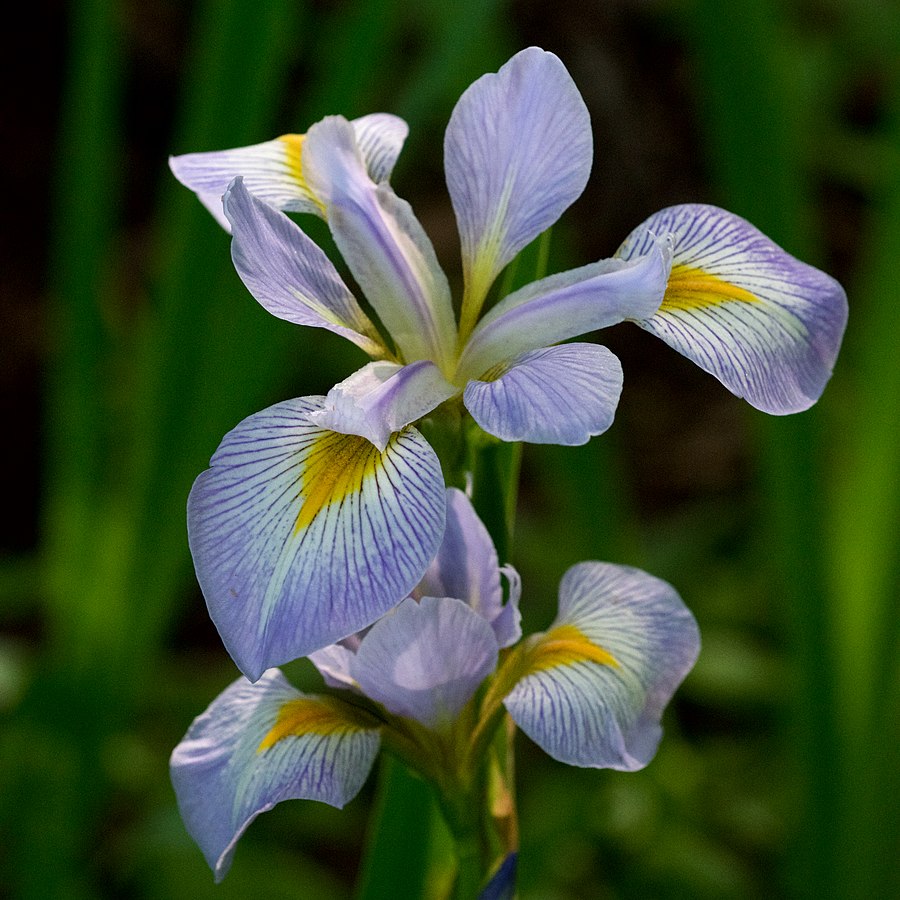
To build a web application with Flask, we will create a simple machine learning model. We use the iris dataset, which is one of the popular datasets. With the established model, the aim is to predict the class type of flower according to the entered measurements. Moreover, we will do this with the data entered in a form from a web page.
iris = datasets.load_iris()
X = iris.data[:, :4]  # we take four features.
y = iris.target

from sklearn.model_selection import train_test_split
x_train, x_test, y_train, y_test = train_test_split(X,y,test_size = 0.30)

gbc = GradientBoostingClassifier()
gbc.fit(x_train,y_train)
score_gbc = gbc.score(x_test,y_test)
While building the model, we define the data set as x (values to be entered by the user) and y (target variable-class of flower). Then, while training the model, we divide the data set as “test_size=0.30” and apply it with the Gradient Boosting algorithm. (You can implement model evaluation metrics and optimization of hyperparameters in your project.)
Creating the app.py File
The @app.route(“/”) function is used for URL assignments within the application. As seen in the project code, there are two different @app.route(). First, the @app.route(“/”) web form was created to prepare the values that will appear before the user when the web form is first opened. However, when the application is opened, the user will encounter an empty form, so it is left blank.
@app.route("/")
def index():

    return render_template("index.html")
The @app.route(“/predict”, methods= [“POST”]) function executes the operations in the background after the user presses the predict button. This is where the machine learning model works and produces its output.
@app.route("/predict",methods = ["POST"])
def predictApp():

    iris = datasets.load_iris()
    X = iris.data[:, :4]  # we take four features.
    y = iris.target

    from sklearn.model_selection import train_test_split
    x_train, x_test, y_train, y_test = train_test_split(X,y,test_size = 0.30)

    gbc = GradientBoostingClassifier()
    gbc.fit(x_train,y_train)
    score_gbc = gbc.score(x_test,y_test)

    sepalLenght = request.form.get("sepalLenght")
    sepalWidth = request.form.get("sepalWidth")
    petalLenght = request.form.get("petalLenght")
    petalWidth = request.form.get("petalWidth")

    setosa = np.array([0])
    versicolor = np.array([1])
    virginica = np.array([2])
    real_values = np.array([sepalLenght,sepalWidth,petalLenght,petalWidth]).reshape(1, -1)

    predict_GBC = gbc.predict(real_values)

    return render_template("index.html", setosa = setosa, versicolor =    versicolor, virginica = virginica, accuracy_GBC = round(score_gbc*100,2), predict_GBC = predict_GBC )
    return redirect(url_for("index"))
Within the app.py file, the render_template() function points to the HTML page to be returned at the URL to be visited.
return render_template("index.html")The app.run() function makes the project run. The if __name__ == “__main__” structure queries whether the file was called from the terminal.
 if __name__ == "__main__":
    app.run(debug = True)
Full python code for app.py:
from flask import Flask,render_template,request,redirect,url_for
import numpy as np
import pandas as pd
from sklearn.ensemble import GradientBoostingClassifier
from sklearn import datasets
app = Flask(__name__)
@app.route("/")
def index():

    return render_template("index.html")

@app.route("/predict",methods = ["POST"])
def predictApp():

    iris = datasets.load_iris()
    X = iris.data[:, :4]  # we take four features.
    y = iris.target

    from sklearn.model_selection import train_test_split
    x_train, x_test, y_train, y_test = train_test_split(X,y,test_size = 0.30)

    gbc = GradientBoostingClassifier()
    gbc.fit(x_train,y_train)
    score_gbc = gbc.score(x_test,y_test)

    sepalLenght = request.form.get("sepalLenght")
    sepalWidth = request.form.get("sepalWidth")
    petalLenght = request.form.get("petalLenght")
    petalWidth = request.form.get("petalWidth")

    setosa = np.array([0])
    versicolor = np.array([1])
    virginica = np.array([2])
    real_values = np.array([sepalLenght,sepalWidth,petalLenght,petalWidth]).reshape(1, -1)

    predict_GBC = gbc.predict(real_values)

    return render_template("index.html", setosa = setosa, versicolor =    versicolor, virginica = virginica, accuracy_GBC = round(score_gbc*100,2), predict_GBC = predict_GBC )
    return redirect(url_for("index"))

if __name__ == "__main__":
    app.run(debug = True)
Creating Python HTML templates
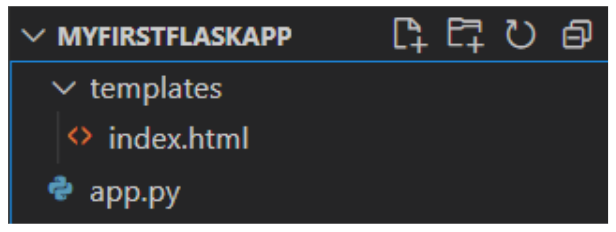
To return the values from the app.py file to be displayed on the web, we first need to add the “templates” folder and create an index.html file in it.
Creating a Dynamic Form and Table
We will use the <table> and <form> elements to create a simple web form. But first of all, to create a bootstrap compatible page and get a better design, I define the following bootstrap link inside the <head> tags.
<link href="https://cdn.jsdelivr.net/npm/[email protected]/dist/css/bootstrap.min.css" rel="stylesheet">After defining the Bootstrap structure, let’s start defining our <form> and <table> elements, respectively. While defining the form, we need to define method=”post” as we will use the POST method during communication with Flask. Otherwise, we cannot communicate .html and .py files with the buttons we define below.
Full HTML code for form and table web page:
<!DOCTYPE html>
<html>
<head>
<title>My First Flask App</title>
<link href="https://cdn.jsdelivr.net/npm/[email protected]/dist/css/bootstrap.min.css" rel="stylesheet">
</head>
<body>
<div class="col-md-9 col-sm-9 " style="margin:auto; margin-top:150px;">
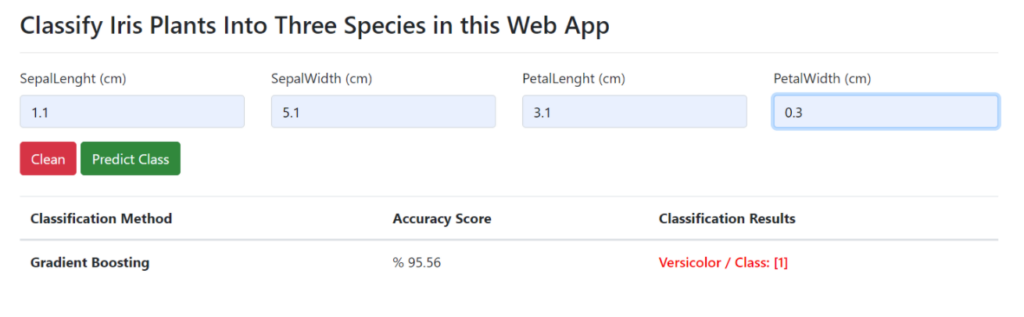
<h3>Classify Iris Plants Into Three Species in this Web App</h3><hr>
<form action="/predict" method = "post">
<div class="row">
<div class="col-md-3">
<div class="form-group">
<label for="formGroupExampleInput">SepalLenght (cm)</label>
<input type="text" name="sepalLenght" class="form-control">
</div>
</div>
<div class="col-md-3">
<div class="form-group">
<label for="formGroupExampleInput">SepalWidth (cm)</label>
<input type="text" name="sepalWidth" class="form-control">
</div>
</div>
<div class="col-md-3">
<div class="form-group">
<label for="formGroupExampleInput">PetalLenght (cm)</label>
<input type="text" name="petalLenght" class="form-control">
</div>
</div>
<div class="col-md-3">
<div class="form-group">
<label for="formGroupExampleInput">PetalWidth (cm)</label>
<input type="text" name="petalWidth" class="form-control">
</div>
</div>
</div>
<button type="reset" class="btn btn-danger">Clean</button>
<button type="submit" class="btn btn-success">Predict Species</button>
</form><br>
<table class="table">
<thead>
<tr>
<th scope="col">Classification Method</th>
<th scope="col">Accuracy Score</th>
<th scope="col">Classification Results</th>
</tr>
</thead>
<tbody>
<tr>
<th scope="row">Gradient Boosting</th>
<td>% {{ accuracy_GBC }}</td>
{% if predict_GBC == setosa %}
<td style="color:red; font-weight:600;">Setosa/Species: {{ predict_GBC }}</td>
{% elif predict_GBC == versicolor %}
<td style="color:red; font-weight:600;">Versicolor/Species: {{ predict_GBC }}</td>
{% elif predict_GBC == virginica %}
<td style="color:red; font-weight:600;">Virginica/Species: {{ predict_GBC }}</td>
{% else %}
<td style="color:red; font-weight:600;">Cannot Find Species</td>
{% endif %}
</tr>
</tbody>
</table>
</div>
</body>
</html>On the other hand, upon our request from the HTML form, the values returned from the .py file should appear in the HTML. For this, we will use the <table> element and print the values returned from the py file into {{ returnValue }} as above and below.
{{ predict_GBC }}In this context, we can create a conditional structure by checking the values we will print to the screen with {% if %}. For example, in this application, we check the predict_GBC value from the app.py file and print the class of the flower according to the situation.
{% if predict_GBC == setosa %}
  <td style="color:red; font-weight:600;">Setosa/Species: {{ predict_GBC }}</td>
{% elif predict_GBC == versicolor %}
  <td style="color:red; font-weight:600;">Versicolor/Species: {{ predict_GBC }}</td>
{% elif predict_GBC == virginica %}
  <td style="color:red; font-weight:600;">Virginica/Species: {{ predict_GBC }}</td>
{% else %}
  <td style="color:red; font-weight:600;">Cannot Find Species</td>
{% endif %}
Flask Localhost Example
You can quickly run the application developed with the above processes on localhost. I recommend using VS Code for this. After downloading and opening VS Code, you need to open File–>OpenFolder–>YourFlaskFiles.
Runing app.py in Terminal
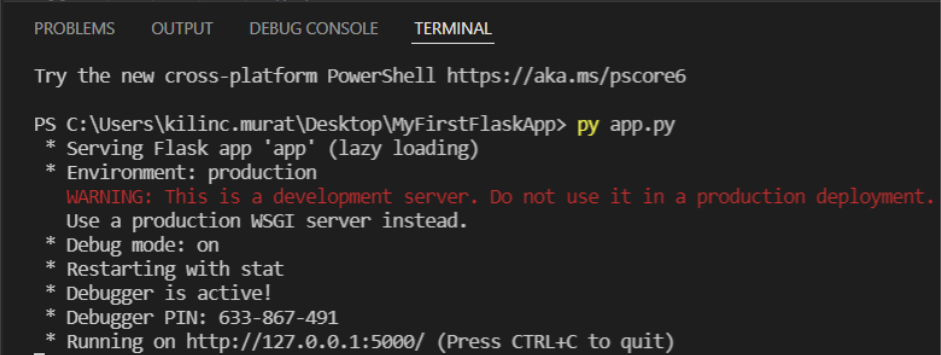
After opening a new terminal in VS Code, there is only one thing left to do. That’s typing “py app.py” and hitting enter. If you have come this far, you have developed a local Flask application. Congratulations.
localhost:5000 or 127.0.0.1:5000:
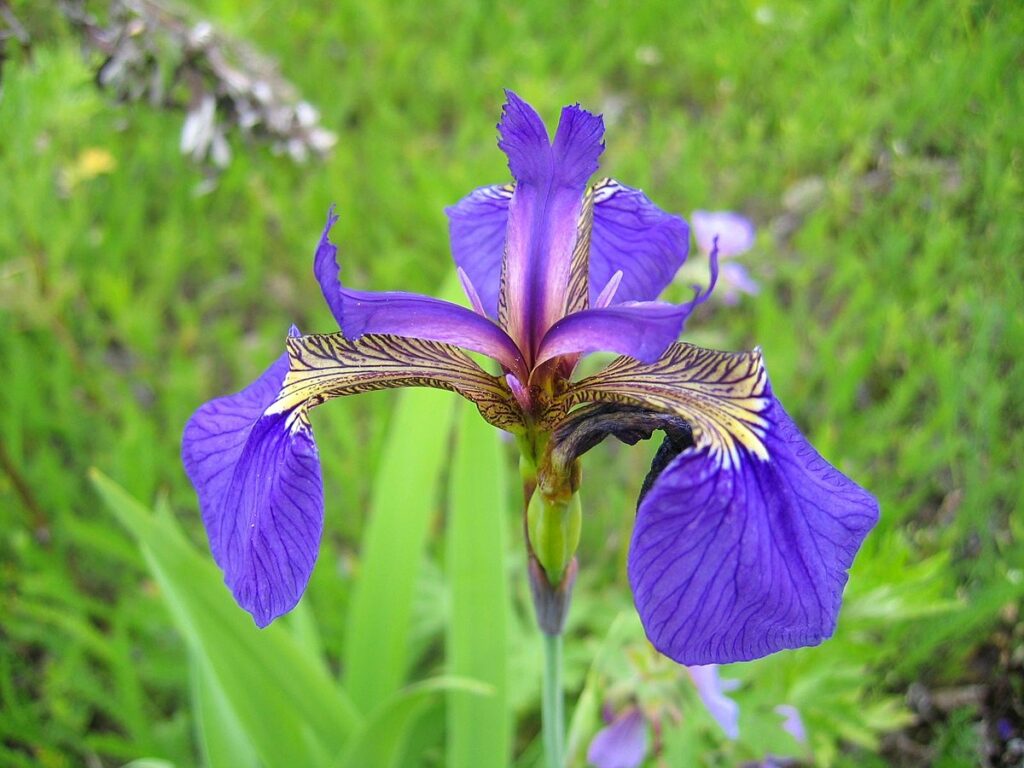
This app will predict one of these three flowers.
Final Words
Yes, perfect, you got to this part without any problems! Now you can easily do more development in Flask. Below is the included GitHub repository, where you can regularly find all the applied codes and the live version of the application deployed on Heroku. If you want to further the application, you can use different machine learning methods, model evaluation metrics, hyperparameter optimization.
For Github Repo:https://github.com/murattkilinc/irisPredictApp
For Heroku Live App:https://classifyirismurat.herokuapp.com/
Recommended Articles
- How To Code a Fun Basic Web Page
- How To Create a Valid HTML Web Page With Elements
- How To Use CSS (Cascading Style Sheets) To Style HTML
- How To Build a JavaScript Retro Galactic Snake Game