AppCode
This tutorial guides you through the steps to create a basic webpage. We include examples of images, links, HTML elements, validation, and more.
What is HTML?
HTML, or HyperText Markup Language, is the standard markup language for texts intended to be viewed on a web browser. When working with HTML, we make web pages, and we use a web browser to read and process the HTML content. To develop a well-organized website, we’ll need to ensure that all HTML files we produce are saved in the same folder.
It may appear to be a challenge. Perhaps you believe it is too difficult for you to learn. But the focus of the article is to demonstrate how simple HTML may be. Let’s get started! This guide will teach you everything you need to know about basic HTML.
How easy is HTML?
HTML is quite simple to learn; believe it or not, you can be operational in less than a day. Simply put, there’s not much to it. Realistically, it is a simple language to learn, and it isn’t going away anytime soon. If you’re not used to working with computers or the internet, you can find it difficult. However, if you’re comfortable with basic word processing, copying and pasting, and other similar tasks, you’ll see HTML to be reasonably simple.
Getting the required code editor
You need a text editor, code editor, or an IDE (integrated development environment) installed on your operating system to create your HTML web page. The editor is where you write the code. Here are several examples of programs you can start writing code below:
Codeanywhere Cloud IDE

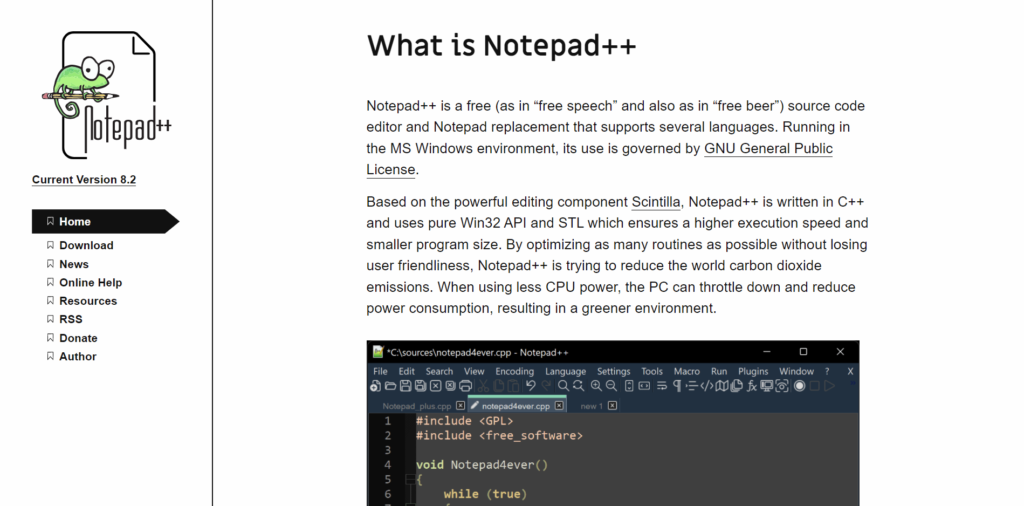
Notepad++ Code Editor
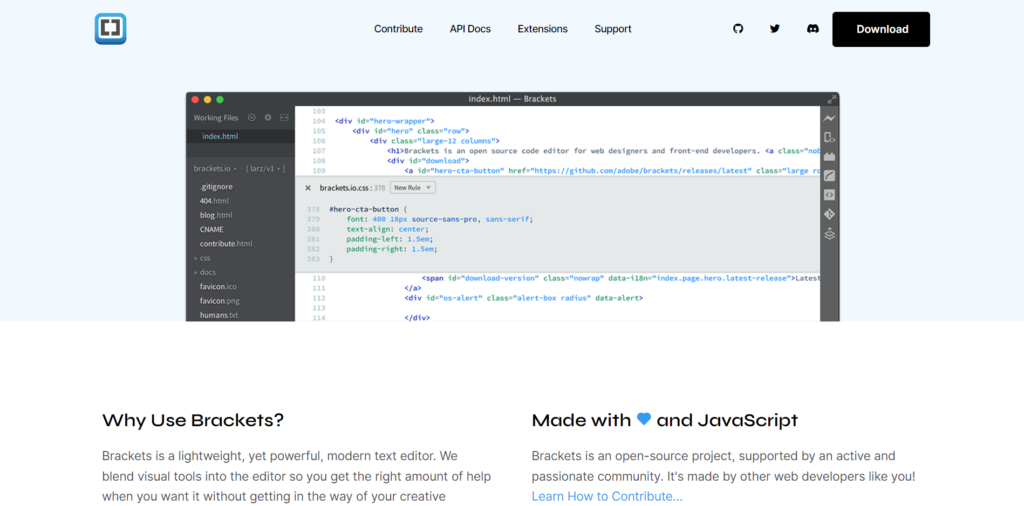
Brackets Code Editor
What are HTML tags?
An HTML tag is a group of characters that constitute the beginning and end of an HTML element. Tags, which are at the heart of HTML, give instructions or blueprints to create pieces that make up the structure of all web pages on the internet.
All HTML documents consist of elements that are built up from contents and tags, and to create the most basic HTML document, we first need an HTML tag at the start of the document which looks something like this <html> and another tag at the end of the document which looks something like this </html>.
<html>
</html>
As you can see, the tags all start and end with an angle bracket <, and usually but not always, tags work in pairs, and it’s often the case that the opening tag is the same as the closing tag but with a forward slash sign / after the opening angle bracket.
That being said, let’s put some content in between the <HTML> tags.
How to start coding?
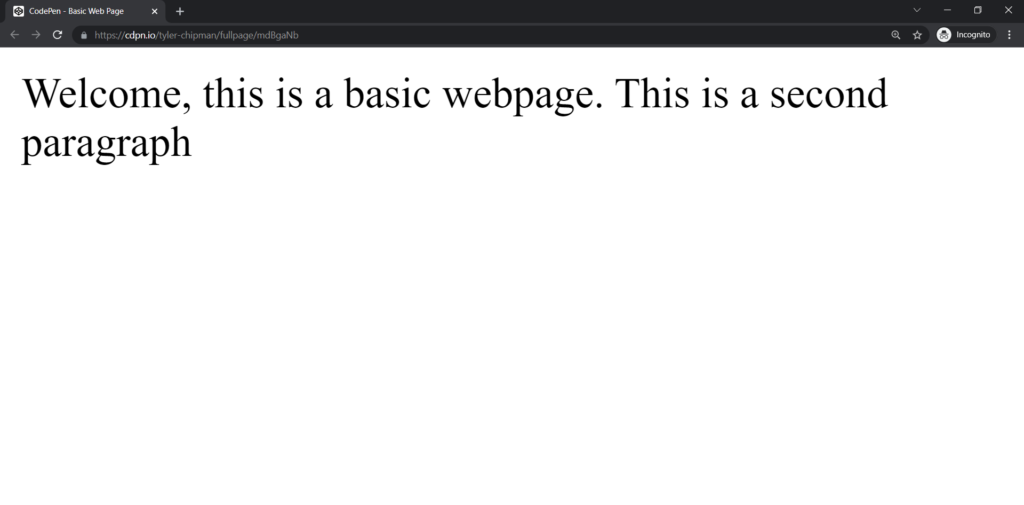
On the following line, after the opening tag <HTML>, type a simple sentence like: “Welcome, this is a basic web page.”.
<html>
Welcome, this is a basic web page.
</html>
Save the file name as “index.html”. Make sure you put the HTML at the end; if not, your file will save as a text document by default.
After saving the file as HTML, double click the folder in the location you saved, and you’ll see that it’ll open up your browser. It should say, “Welcome, this is a basic webpage.”, in your browser.
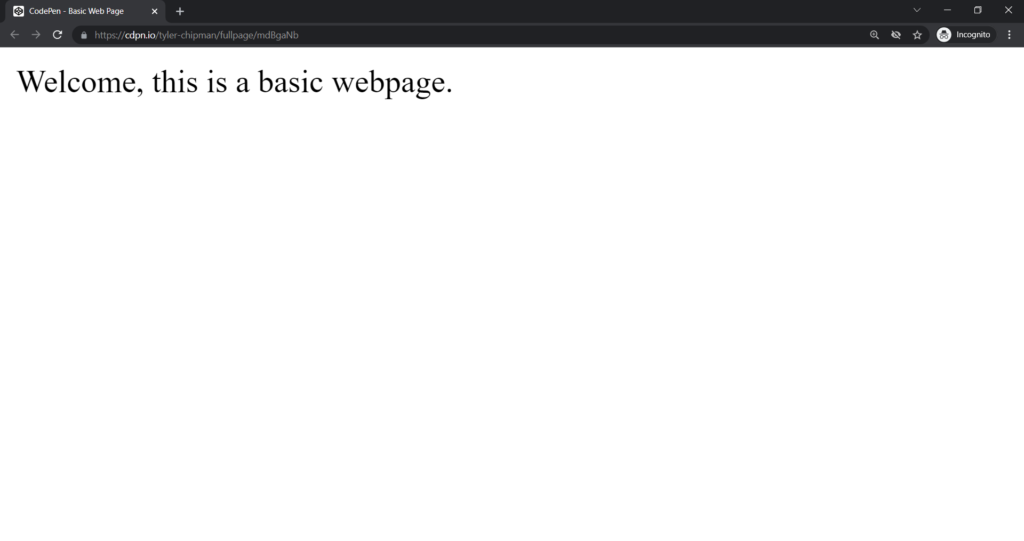
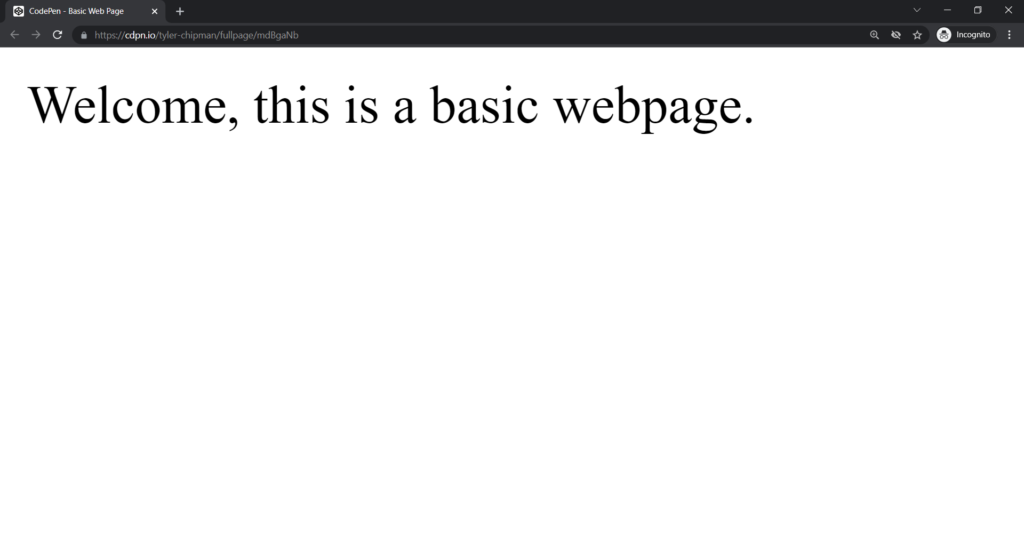
Note: You can scale the webpage by holding down the CTRL key with a + sign to make it bigger. On the other hand, to make the browser page smaller, use CTRL with the – symbol.
Add some text after “Welcome. this is a basic web page” like “This is a second paragraph” then save the HTML file and refresh the browser.
When you go back to your browser, you’ll notice that your second paragraph isn’t a pretty second paragraph. The first and second sentences will appear to be together. The reason for them appearing together is, with HTML, you won’t get a line break unless you indicate that the two sentences are different paragraphs.
So go back to the editor and put a break tag or paragraph tag there. The code for a break tag is <br> is placed at the end of the sentence.
Sentence One<br>
Sentence Two
On the other hand, the code for a paragraph tag starts with <p>. Then you use a <\p> at the end of the paragraph.
<p>Sentence One</p>
<p>Sentence Two</p>
The break tag takes the following sentence to the next line, while a paragraph tag gives the following sentence a whole paragraph. For the sake of this tutorial, we’ll use the paragraph tag.
<html>
  <p>Welcome, this is a basic webpage.</p>
  <p>This is a second paragraph</p>
</html>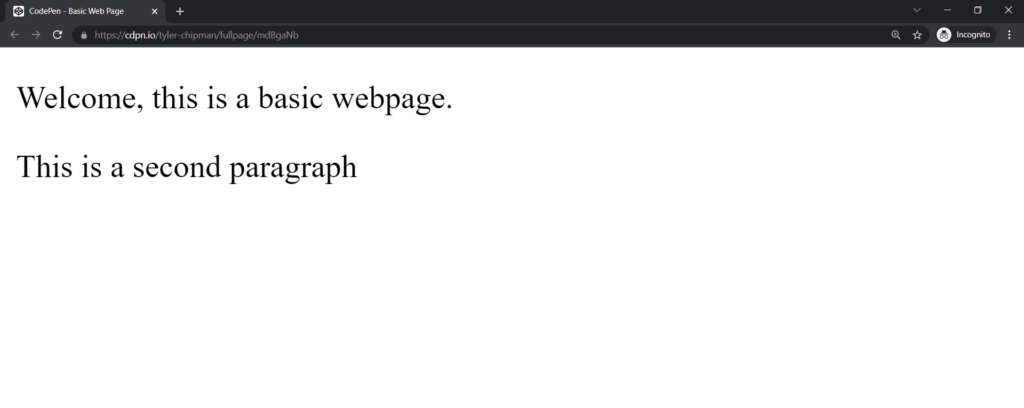
How to add other HTML elements?
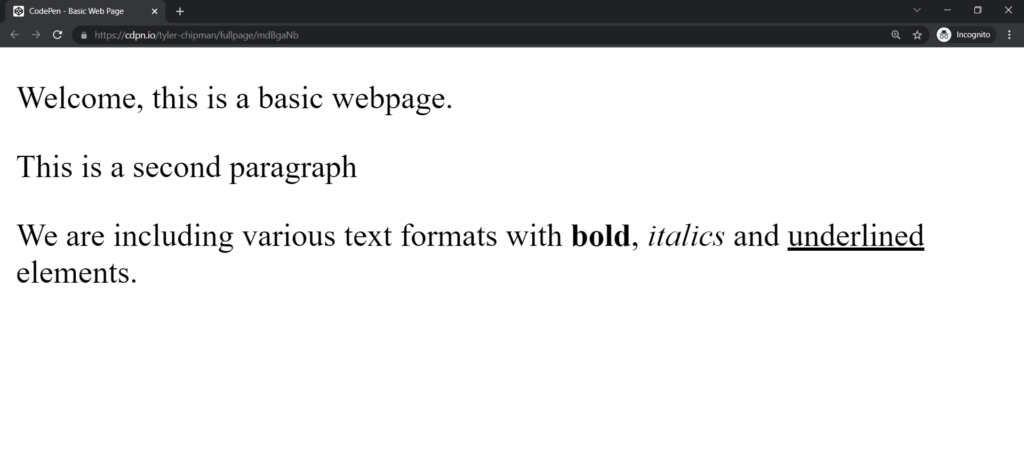
Moving on, you can add more HTML elements to your web page. The next thing you will be learning is how to make bold, italics, or underlined texts using HTML elements.
The tag for bold is <b> to open it and <\b> to close it, the tag for italics is <i> to open it and <\i> to close it, and the tag for underline is <u> to open it and <\u> to close it.
To use all of these elements we create write “We are including various text formats with <b>bold</b>, <I>italics</i> and <u>underlined</u> elements.”. Save and refresh.
<p>We are including various text formats with <b>bold</b>, <I>italics</i> and <u>underlined</u> elements.</p>What the code above looks like on a web page.
Next, we’re going to add a heading. You can add your heading where ever you want to. Although Ideally, headings are usually on the top of a document, there are no structure rules, especially when it comes to coding.
To add a heading to your HTML, you need to understand the six headings types, with H1 being the most significant and H6 being the smallest. Your heading should look something like this “<h1>This is a Heading</h1>”.
<h1>This is a Heading</h1>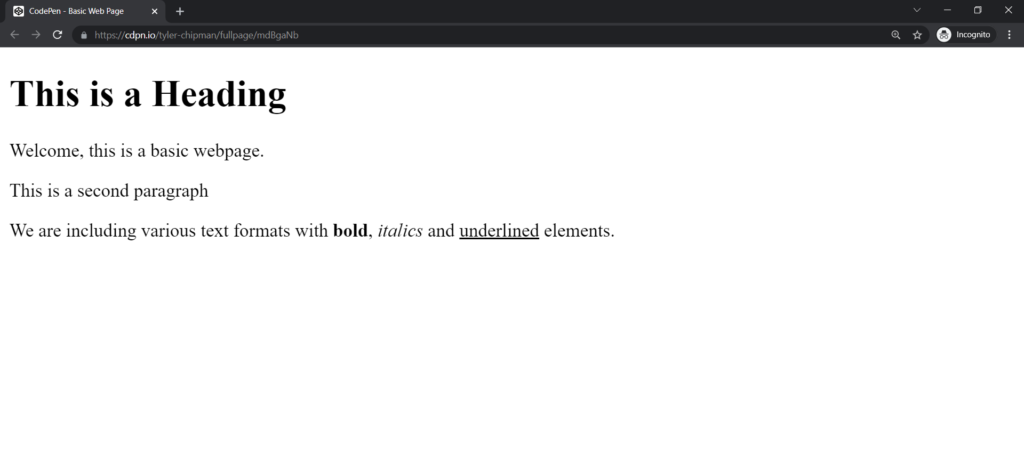
At this point, our code should look like this below:
<html>
  <h1>This is a Heading</h1>
  <p>Welcome, this is a basic webpage.</p>
  <p>This is a second paragraph</p>
  <p>We are including various text formats with <b>bold</b>, <I>italics</i> and     <u>underlined</u> elements.</p>
</html>
List Of 13 Basic HTML Tags
Here are 13 of the most basic HTML tags and their meanings:
| <html> | The html element contains all other elements. This element is used only once. Addionally, you place it at the beginning and the end of the web page file. |
| <a> | The a element adds a hyperlink to another location. |
| <b> | The b element converts text inside the element to bold. Similar to the strong element. |
| <strong> | The strong element indicates its contents are significant, serious, or time-sensitive. Similar to bold element. |
| <body> | The body element contains most of the structural elements of an HTML page. |
| <br> | The br element is for adding line breaks in text or between elements. |
| <div> | The div element creates a section or division between content in a web page. |
| <h1> | The heading element is for creating headings throughout your webpage. There are a total of six heading elements starting with h1, h2, h3, h4, h5, and ending with h6. The heading element is different from the header element. |
| <i> | The i element makes the text inside the element italic. |
| <img> | The img element adds images to a webpage. You can specify the image location using the src attribute. |
| <ol> | The ol element is for creating ordered lists. The ordered lists are usually defined with a number one. “1.” |
| <ul> | The ul element is for creating unordered lists. The unordered lists are usually defined with a circle or a dot. |
| <p> | The p element is used for creating a paragraph. |
| <span> | The span element is an inline element used for styling chunks of text. It does not change the appearance without adding CSS. |
Although these HTML tags may confuse you as a beginner, before the end of this tutorial, you will understand more of the elements better.
Container Vs Non-Container Tags
Container tags are the tags that have to start and closing tags like the paragraph tag <p>Content</p> while non-container tags are tags that don’t have any closing tag but have start tags like </br> and <img>.
How to make HTML compliant?
A compliant web page indicates that a web site’s HTML and CSS code complies with the World Wide Web Consortium’s standards (W3C for short). Compliance is substantial because it will help you design a website that can be read and accessed in a broader range of browsers, platforms, and devices. Addionally compliant web pages render correctly in most browsers and devices.
As we’ve seen, the HTML code we’ve written works perfectly well, but for compliance with widely accepted HTML standards, it should contain a bit more structure, such as the document type, head, title, and body tag, and we’ll show you exactly how to do this.
Firstly, all HTML documents should begin by declaring their document type to be HTML, so the browser knows the kind of content it contains.
To do this, we have to add a declaration tag at the very start of our document before our HTML code begins.
<!DOCTYPE html>
<html>
  <h1>This is a Heading</h1>
  <p>Welcome, this is a basic webpage.</p>
  <p>This is a second paragraph</p>
  <p>We are including various text formats with <b>bold</b>, <I>italics</i> and     <u>underlined</u> elements.</p>
</html>
How to add the head element?
The <head> element represents a container for metadata, scripts, and other resources for the browser to download. To place the <head> element, we need to put it on the following line, after the document’s opening <html> tag.
<!DOCTYPE html>
<html>
  <head>
  </head>
  <h1>This is a Heading</h1>
  <p>Welcome, this is a basic webpage.</p>
  <p>This is a second paragraph</p>
  <p>We are including various text formats with <b>bold</b>, <I>italics</i> and     <u>underlined</u> elements.</p>
</html>
How to add the title element?
Add a title element inside the head element by inputting <title> with the contents of “A basic webpage” (or whatever title you want to give it) and close the title with <\title>; after this, don’t forget to close the header on the line by inputting <\head>.
<!DOCTYPE html>
<html>
  <head>
    <title>A basic webpage</title>
  </head>
  <h1>This is a Heading</h1>
  <p>Welcome, this is a basic webpage.</p>
  <p>This is a second paragraph</p>
  <p>We are including various text formats with <b>bold</b>, <I>italics</i> and     <u>underlined</u> elements.</p>
</html>
How to add the body element?
The next thing to do for compliance indicates that there’s a body. So after the header, add a tag for the body with <body> and right before the end of the document’s closing tag <\html> to close off the body with <\body>.
<!DOCTYPE html>
<html>
  <head>
    <title>A basic webpage</title>
  </head>
  <body>
    <h1>This is a Heading</h1>
    <p>Welcome, this is a basic webpage.</p>
    <p>This is a second paragraph</p>
    <p>We are including various text formats with <b>bold</b>, <I>italics</i> and     <u>underlined</u> elements.</p>
  </body>
</html>
How to check web page compliance?
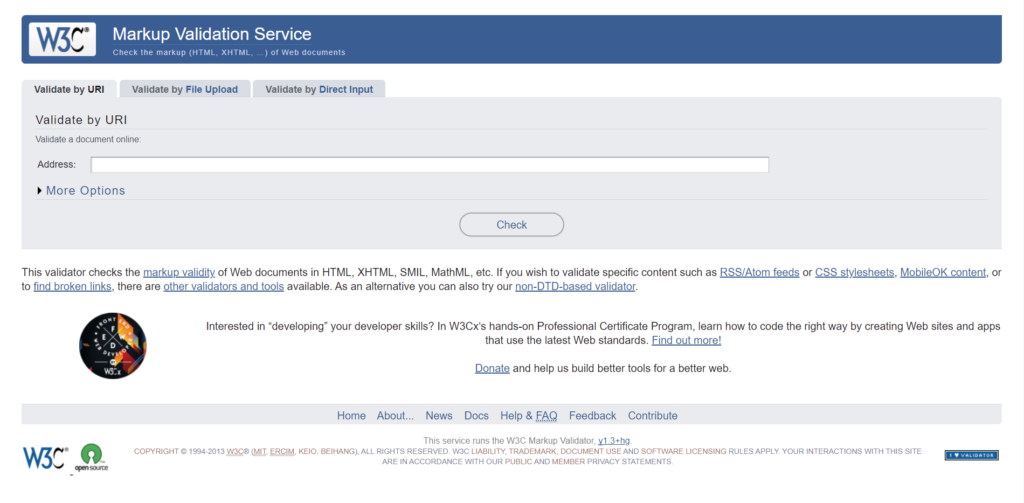
If you notice, you will see that we haven’t done anything to the content of this document; we have just structured it better with additional elements. It’s straightforward to check the validation and compliance for HTML. The W3C provides an HTML markup validation service to validate your web pages. You can copy the code to validate by direct input or use a URL.
What are links and hyperlinks?
A link or hyperlink is just an address that defines the location of an internet resource, the same as a URL that directs you to a web page. Furthermore, hyperlinks are text URL links that may be activated with a pointing device to take you to the desired website using a hidden URL.
So far, our HTML is coming together pretty well. Our page lacks any form of interaction, so how do we place a link?
How to add links and hyperlinks?
Somewhere around the body start a new paragraph and add a <a> tag. Below is the code for the <a> tag:
<a href="link address">the text you want to link</a>For the sake of this tutorial, I am going to be using digitalocean.com as my link. When it is clicked, this link will change the current web page to the Digital Ocean Marketplace. My code for that will look something like this:
<a href="https://marketplace.digitalocean.com/">Digital Ocean: Get a a cloud server today!</a>Now we will make another paragraph and place the link within it. Down below, your web page code should look like this.
<!DOCTYPE html>
<html>
  <head>
    <title>A basic webpage</title>
  </head>
  <body>
    <h1>This is a Heading</h1>
    <p>Welcome, this is a basic webpage.</p>
    <p>This is a second paragraph</p>
    <p>We are including various text formats with <b>bold</b>, <I>italics</i> and     <u>underlined</u> elements.</p>
    <p><a href="https://marketplace.digitalocean.com/">Digital Ocean: Get a a cloud server today!</a></p>
  </body>
</html>
If you refresh your browser after saving, you will see the new link in the third paragraph.
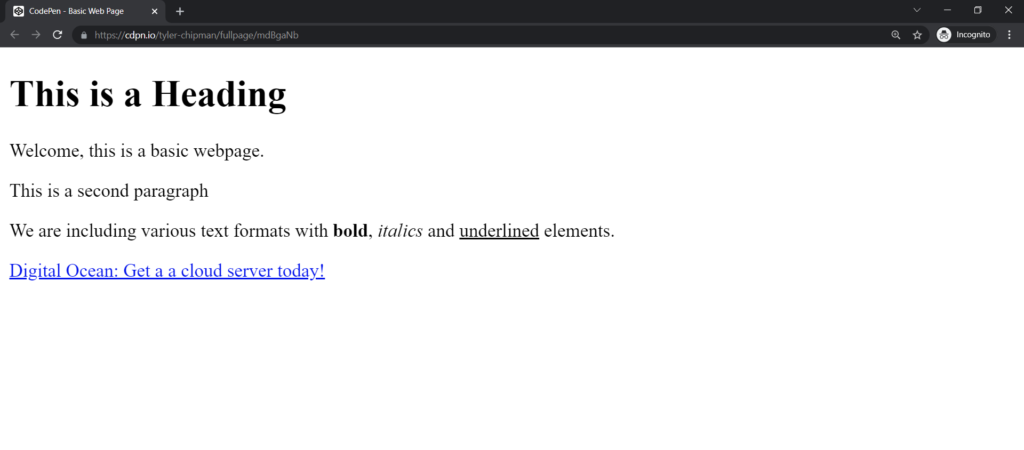
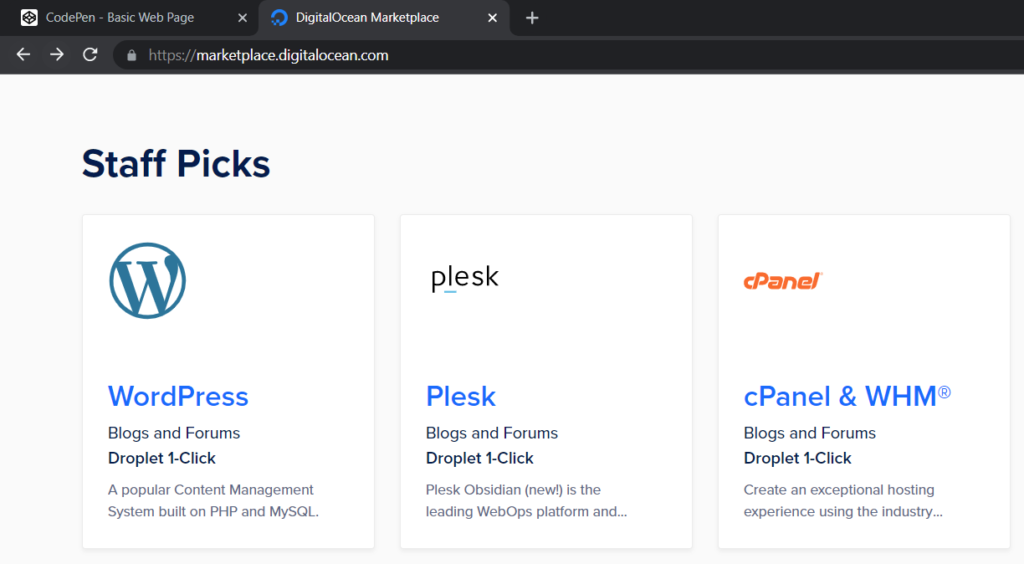
The browser will change the current page to the Digital Ocean Marketplace whenever the link is clicked. You should see the marketplace after the browser navigates.

However, if you want to open your link in another tab, your coding will be slightly different. For links opening in another tab, we need to add the target="_blank" link attribute.
<a href="https://marketplace.digitalocean.com/" target="_blank">Digital Ocean: Get a a cloud server today!</a>This attribute forces the text link to open the resource in another tab.
How to add images to HTML?
Images are usually linked to web pages rather than being physically put into them, but sometimes images can be embedded using a base64 string. We will only be using the link in this tutorial. The <img> element produces a placeholder for the picture that will be loaded during page render in a browser window.
To add an image to your HTML, place an image tag <img> in your desired location plus an src attribute src="The URL of image". We will also add a width attribute, or the image will render at its max dimensions. For a clearer picture, it should look something like this:
<img width="number" src="https://example.com/images/untitled_design.jpg">Unsplash is a website that provides free images. For example, we can use a free jellyfish photo with this link.
https://images.unsplash.com/photo-1532191343016-47bf741b8b3c?ixlib=rb-1.2.1&ixid=MnwxMjA3fDB8MHxwaG90by1wYWdlfHx8fGVufDB8fHx8&auto=format&fit=crop&w=1074&q=80
Below, we place the jellyfish image into our own <img> element.
<img width="400" src="https://images.unsplash.com/photo-1532191343016-47bf741b8b3c?ixlib=rb-1.2.1&ixid=MnwxMjA3fDB8MHxwaG90by1wYWdlfHx8fGVufDB8fHx8&auto=format&fit=crop&w=1074&q=80">Now we need to add the image to our webpage. We need to add the <img> tag in a new paragraph to do this.
<!DOCTYPE html>
<html>
<head>
<title>A basic webpage</title>
</head>
<body>
<h1>This is a Heading</h1>
<p>Welcome, this is a basic webpage.</p>
<p>This is a second paragraph</p>
<p>We are including various text formats with <b>bold</b>, <I>italics</i> and <u>underlined</u> elements.</p>
<p><a href="https://marketplace.digitalocean.com/">Digital Ocean: Get a a cloud server today!</a></p>
<p><img width="400" src="https://images.unsplash.com/photo-1532191343016-47bf741b8b3c?ixlib=rb-1.2.1&ixid=MnwxMjA3fDB8MHxwaG90by1wYWdlfHx8fGVufDB8fHx8&auto=format&fit=crop&w=1074&q=80"></p>
</body>
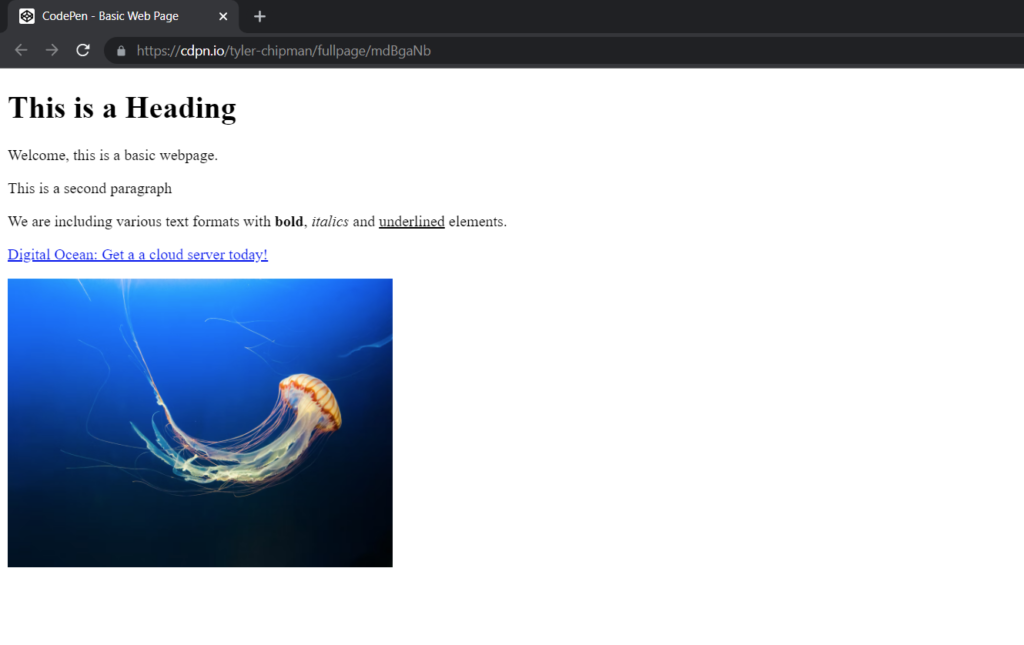
</html>Our new web page should look like this after updating the code.
Conclusion
If you’ve followed all of the steps in this post, you should end up with a basic webpage.