AppCode
This article shows how to push a software project to GitHub and deploy it to Heroku. Included are steps, images, commands, and examples. The information given in all steps aims to show how to deploy an application on the web practically. Users prefer to deploy their applications on platforms such as Heroku, especially in small-scale projects, instead of buying a domain and hosting. For this reason, the use of Heroku is becoming increasingly popular.
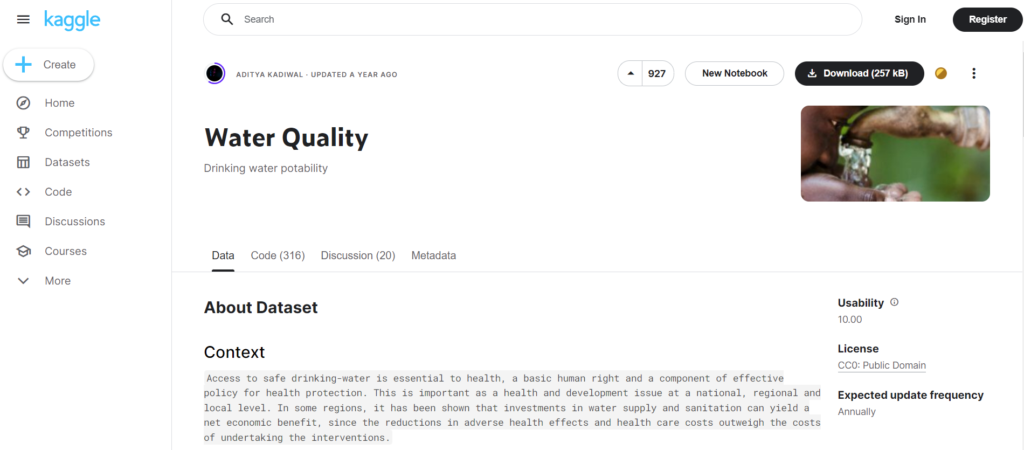
Here is the application we will be deploying from GitHub. The application involves a water potability calculator.
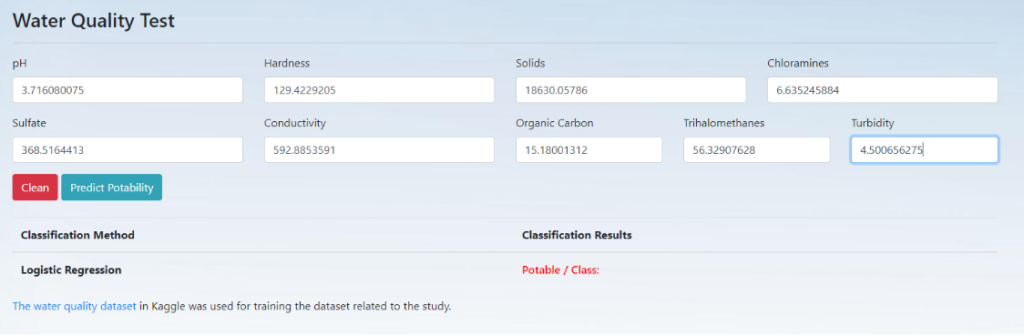
You can reach the live version of the application and the GitHub repository at the end of the article. So if you’re ready, here we go!
1) What Is GitHub and What Is It Used For?
Github is a cloud-based web service that hosts the git version control system, which is used interactively by more than 70 million developers[1] today and enables collaboration and workflows in projects. It is considered an essential tool for software developers, especially since it allows developers to examine their progress on the project in detail and participate in jointly.
There are more than 100 million repositories on Github, and developers have the right to publish these repositories as private or public. In addition, it is possible to see who accessed the project at what time and what operations they did on Github. Thanks to these conveniences, Github has not only facilitated the development of open-source software but also has become a must-know requirement in the software industry.
2) What Is Heroku and What Is It Used For?
Heroku was founded in 2007 as a cloud-based platform infrastructure service. Heroku, which first supported only Ruby language during its establishment, now supports languages such as phyton, PHP, Java, Go, Scala, Node.js, and Clojure. Its flexible and dynamic structure allows you to install and manage your applications, control, and scale access and metrics.
You can use Heroku for free up to a certain extent. The free version has 512 MB of ram, which is sufficient, especially for practice tests. In this context, approved users limit to up to 1000 hours of use per month. As the size and traffic of your project increase, pricing is arranged with a hobby, standard, and performance packages.
Get started building on Heroku for free with all the services you need to build and deploy apps without paying a dime. Direct Link →
3) How to Push Code to Github?
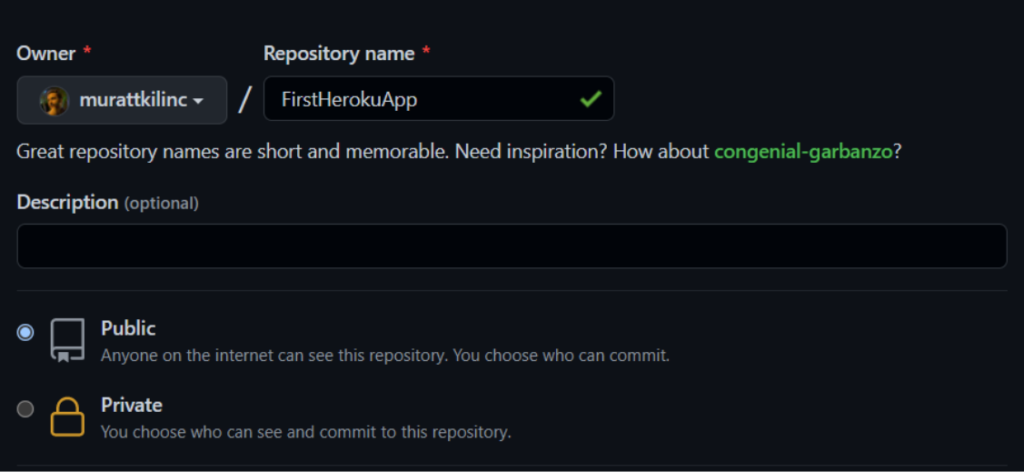
3.1) Creating a Repository
After you subscribe to GitHub, you can create a new repo by clicking the Repositories >> New button. It is also possible to set the privacy setting of the repo you have made with the public or private options on the repo creation screen. You don’t face any restrictions on deploying to Heroku with either option.
3.2) Git Installation
Git is a distributed, speed-oriented version control and source code management system used in software development [2].
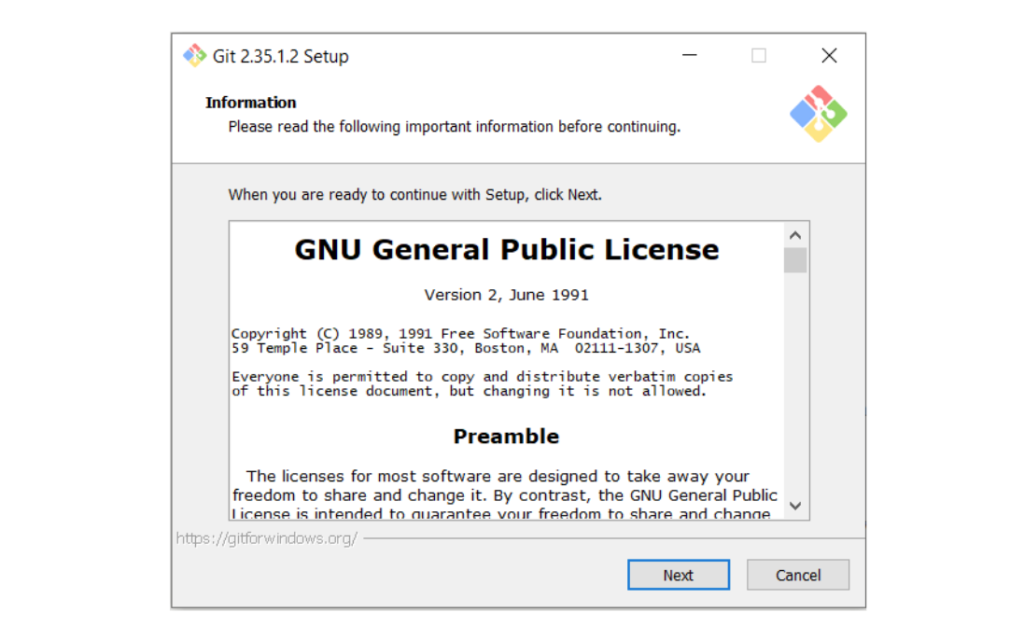
To be able to operate with git commands, it is necessary first to install git on the computer. You can perform the installations by following the directions prepared for macOS, Windows, and Linux operating systems. In this article, we will look at the installation in windows (latest version 2.35.1), which is easier to install.
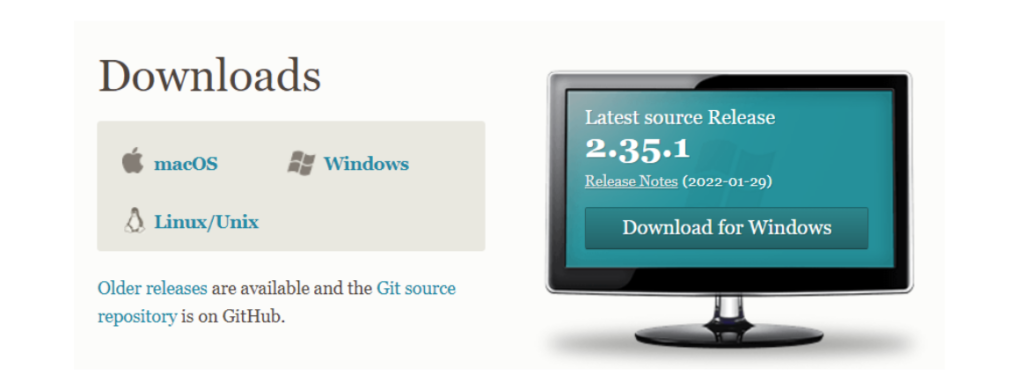
If you have installed the setup file, you will download it as in the image below; let’s go into more details about git commands and what they do.
3.3) Transactions and Git commands
The most used commands on git, a version control system frequently used in software development projects, are as follows.
- git version
You can use the command below to check the installation process and the version without any problems.
git –-versionPS C:\Users\kilinc.murat\Desktop\Projects> git --version
git version 2.35.1.windows.2- git init
git init is used to start a new repository. It allows you to create a directory named “.git” within your directory.
git initInitialized empty Git repository in C:/Users/kilinc.murat/Desktop/heroku/FirstHerokuApp/.git/- git config
The following commands are used for git configuration operations. You can set information such as username and mail via the commands below.
git config --global user.name "Murat Kilinc"
git config --global user.email "[email protected]"
PS C:\Users\kilinc.murat\Desktop\Projects> git config --global user.name "Murat Kilinc"
PS C:\Users\kilinc.murat\Desktop\Projects> git config --global user.email "[email protected]"- git add
It is used to add files to the project.
git add [file-name]The following command means adding the current file location.
PS C:\Users\kilinc.murat\Desktop\Projects> git add .- git commit
Permanently saving the changes made on the project to the Git database (version history) is done with the following command. When the project is checked, it can be seen better at what stages thanks to the commit messages.
git commit -m "First Commit"PS C:\Users\kilinc.murat\Desktop\heroku\FirstHerokuApp> git commit -m "First Commit"
[master (root-commit) 791fef1] First Commit
6 files changed, 175 insertions(+)
create mode 100644 Procfile
create mode 100644 README.md
create mode 100644 app.py
create mode 100644 finalized_model.pkl
create mode 100644 requirements.txtCommit messages should be kept as clear and short as possible. The accepted consensus is that an ideal commit message should have an average of 50 characters [3](Translated to English).
- git remote
It is used to connect a local file path to the remote server.
git remote [variable-name][repository-link]For example, we connected our local files with the git repo on the remote server with “git remote add” in the remote command below.
PS C:\Users\kilinc.murat\Desktop\Projects> git remote add origin https://github.com/murattkilinc/FirstHerokuApp.git- git pull
If changes have been made on the remote repo, it is necessary to get the updates with the following command. For this reason, before we push the local files, we need to pull the changes and then push our changes.
git pullPS C:\Users\kilinc.murat\Desktop\Projects> git pull
Already up to date.- git push
We had linked the local files and GitHub repo using the remote command. Now we will save the local files on the remote repo. For this, we use the following command.
git push -u origin masterPS C:\Users\kilinc.murat\Desktop\heroku\FirstHerokuApp> git push -u origin master
Enumerating objects: 9, done.
Counting objects: 100% (9/9), done.
Delta compression using up to 16 threads
Compressing objects: 100% (7/7), done.
Writing objects: 100% (9/9), 3.03 KiB | 3.03 MiB/s, done.
Total 9 (delta 0), reused 0 (delta 0), pack-reused 0
To https://github.com/murattkilinc/FirstHerokuApp.git
* [new branch] master -> master
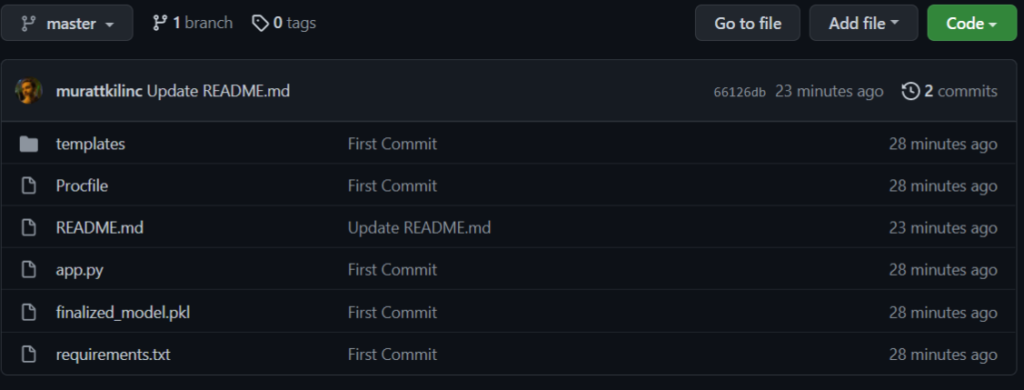
branch 'master' set up to track 'origin/master'.When you check your GitHub account, you can see that the relevant local files are transferred to the Github repository you created and the commit messages as in the image below.
4) How to Deploy an App to Heroku?
4.1) Create a Heroku account
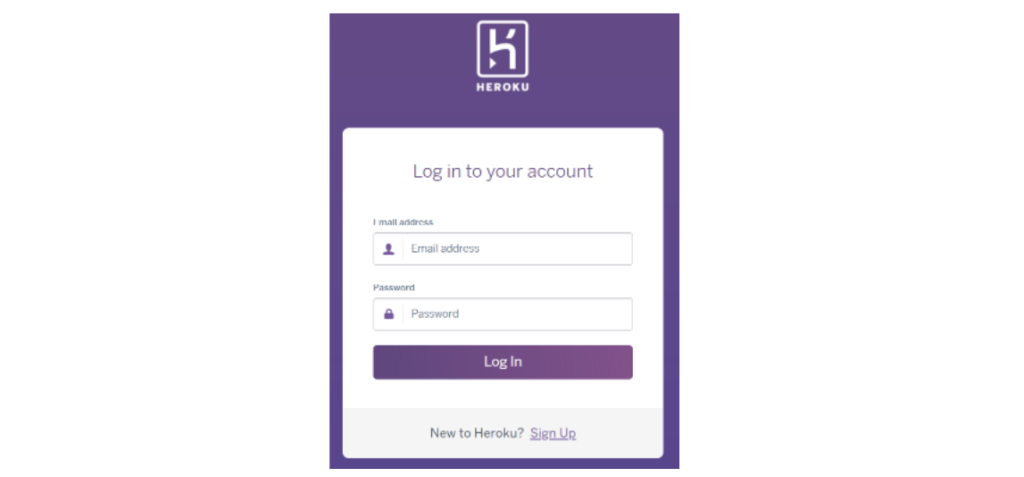
To use Heroku, you must first create an account on the platform. There are two different options for you to deploy applications to Heroku after the registration process.
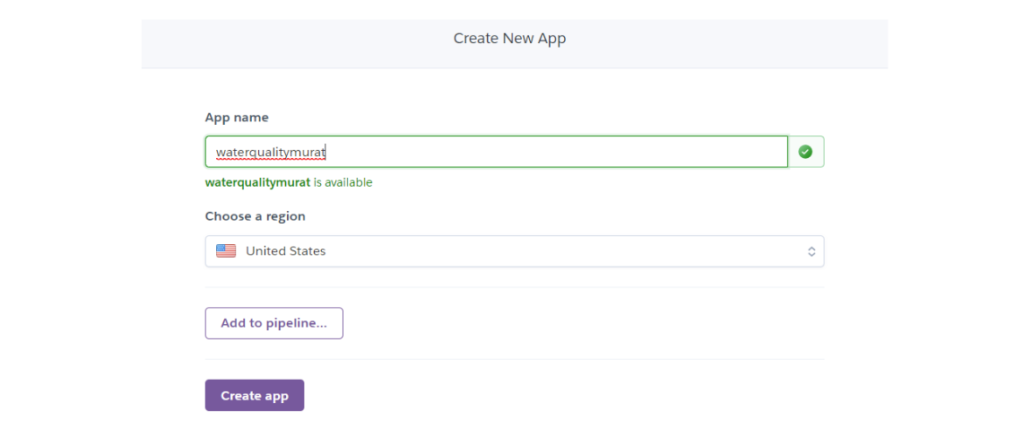
The first of these is to create your first application easily via the “New” button and perform the process with GitHub integration via the deploy tab within the application. The second option is to deploy with Heroku CLI using git bash. However, since the first option is easier and more practical to implement, its steps are shown below. Accordingly, to continue, a connection must be established with GitHub first.
4.2) Deploy with Github

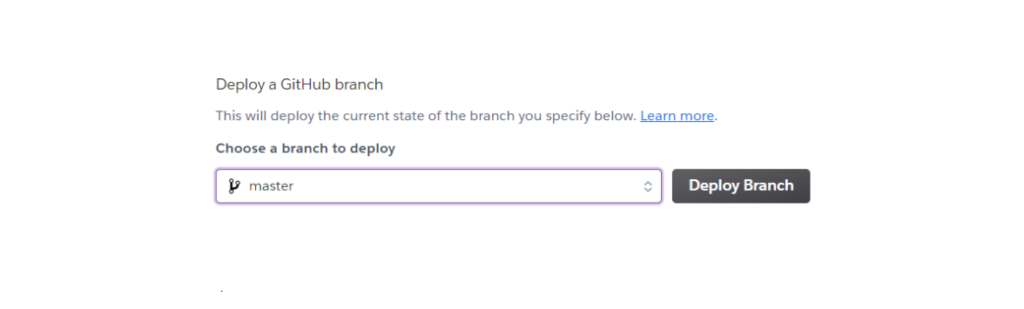
After integrating with GitHub, we need to enter the name of whichever GitHub repo we want to deploy, as indicated below. At this point, the repo name should be written exactly as it was written on Github.
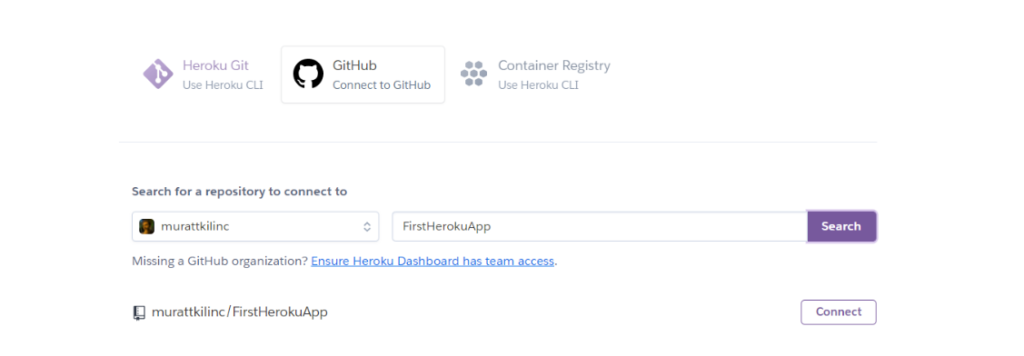
Then, when the “connect” button is pressed, the “deploy brach” becomes active, as seen below. If you have reached this stage, the last thing you have to do is start the deployment process!
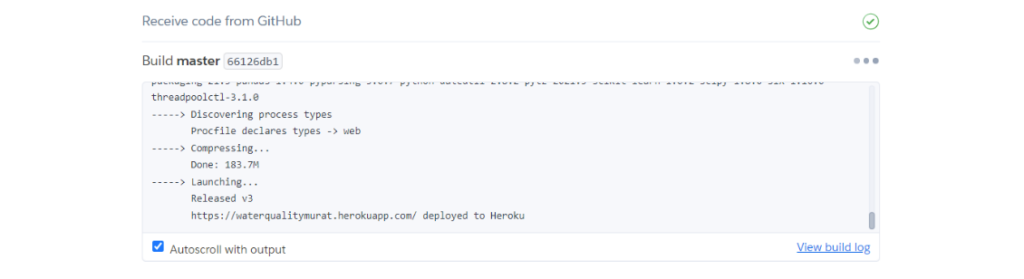
While the deployment process is taking place, you can see the transfer of files on GitHub from the log screen, as shown in the image below. In particular, you can control the errors in the deployment process through this screen or via the Heroku logs --app [app-name] command.
It is also useful to remind one more thing. Before deploying your files, you should make sure that they are prepared for Heroku. In this example, we prepared the “Procfile” and “requirements.txt” files before deploying an application designed with phyton and Flask Framework to Heroku. If these files are not in your project, you cannot run your project on Heroku.
5) Live App and Github Repository

- For Github Repo:https://github.com/murattkilinc/FirstHerokuApp
- For Heroku Live App:https://waterqualitymurat.herokuapp.com/
- For Water Quality Dataset:https://www.kaggle.com/datasets/adityakadiwal/water-potability
6) Final Words
If you did not have any problems in the stages up to this part, congratulations, you have deployed to Heroku. If you have developed an application in programming languages such as Java, Node.js, Scala, PHP, or Go, you can deploy it in Heroku by applying similar processes. If you want to learn other version control systems, you can also examine SVN (Apache Subversion) and CVS (Concurrent Versions System).
See you in the next article!