AppCode
This tutorial demonstrates examples of HTML elements, white space, line breaks, and more. Included in this tutorial are usable code fragments.
This article was first seen on and republished from html-and-css-tutorial.com

- Tutorial 1: How To Create Your First HTML Elements With Examples
- Tutorial 2: How To Create a Valid HTML Web Page With Elements
- Tutorial 3: What Are More Examples of HTML Elements and Structure
- How To Create Headings With the Heading Elements?
- What is White Space, Line Breaks, and Spaces?
- How To Force a Line Break With the br Element?
- How To Create Paragraphs With the p Element?
- How to Bold and Italicize Text With Elements?
- How To Create Lists With the ui, oi, and li Elements?
- How To Create Page Structure With HTML?
- Summary
- Tutorial 4: How To Use CSS (Cascading Style Sheets) To Style HTML
In this HTML tutorial, we will revisit some of the elements we saw in the previous two tutorials and also have a look at a few new HTML elements.
Additionally, we will also look into how HTML handles white space and line breaks.
How To Create Headings With the Heading Elements?
To create web page headings, you must use the HTML heading elements. There are six levels of heading elements and are named h1, h2, h3, h4, h5, and h6.
You already saw the h1 element in the previous tutorial. The h1 element is a heading or title for a section of the document.
HTML by default provides different font styles for the different headings. The number after the h stands for the level of the heading. To explain a bit more, h1 is the largest heading, and as such, has the largest font size. On the other hand, h6 has the smallest font size.
Headings can be expressed at more than one level. This is just like when you create a document in a text processor. When using text processors, they also have headings at different levels. The document title is often set at the largest font size (h1), while the second-level headings (h2) are set at the slightly smaller font size. The CSS font-size trickles down until the element reaches h6, the smallest HTML heading.
Here is one HTML fragment using both the h1 and h2 elements to create a document with a two-level heading structure:
<h1>Summer salad recipes</h1>
<p>Here are all my summer salads. Enjoy!</p>

<h2>Cod salad</h2>
<p>This is a tasty salad.</p>

<h2>Fruit salad</h2>
<p>This is the classic summer salad.</p>
Displayed in a web browser, the above HTML fragment would render as the below image:
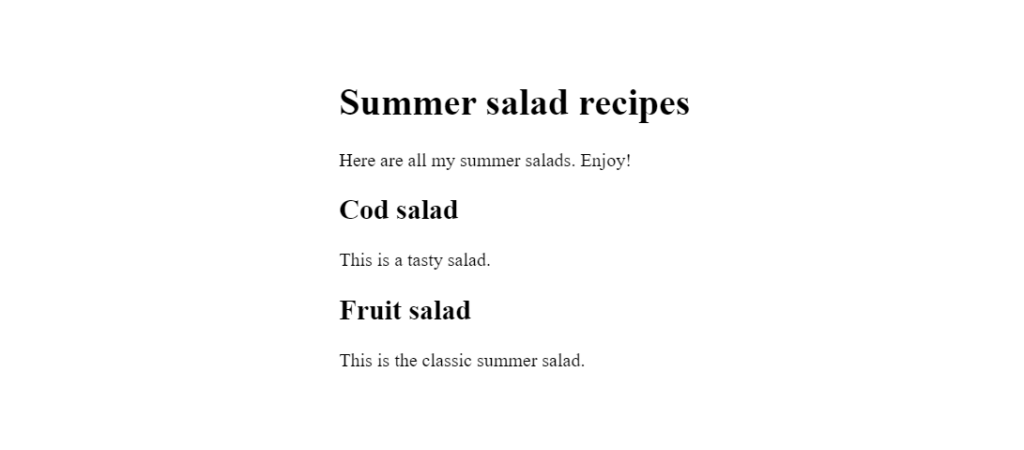
As you can see the contents of the h1 and h2 elements are shown with different font sizes. The h2 element is shown with a smaller font size than the h1 element.
Quick Fact: You can easily use CSS to control exactly which font and font size are used for the headings. You will learn how to do this in a later tutorial. When you don’t specify CSS for an HTML document the web browser will use a set of standard styles that include predefined fonts and font sizes.
What is White Space, Line Breaks, and Spaces?
White space in a file is defined by spaces, line breaks, and other characters that take up space without any visible marks.
When you edit an HTML web page you can put line breaks and spaces anywhere you like. What might surprise you is how those line breaks and spaces are shown to the reader. Have a look at this example below:
<p>
Cobb salad       is a


tasty salad.
</p>
The above HTML fragment has both a series of spaces and a series of line breaks. Although, below the web browser rendered the HTML without any of the white space except for a single space character:
Cobb salad is a tasty salad.The spaces and line breaks are gone. Well, not entirely gone. The series of spaces between “salad” and “is” has been replaced by one space character. Additionally, the series of line breaks between “a” and “tasty” has also been replaced by a single space character.
The important point to learn here is that a web browser treats both spaces and line breaks as the same thing, white space. In HTML most white space is ignored by the browser. The web browser decides if white space between two words should be shown as a single space character, a series of space characters, or as a new line. Most of the time white space is represented by a single space character. Additionally, white space after or before elements is largely ignored by the web browser at the time of rendering.
Another example of the browser ignoring white space is shown below:
<h1>   Heading Element
        </h1>
<p> Paragraph!    </p>

<!--
<h1>◦◦◦Heading◦Element◦⏎
⇥⇥⇥⇥</h1>
<p>◦Paragraph◦Element!⇥◦◦</p>
-->
As you see, the white space in the fragment above is rendered with less space as shown below:
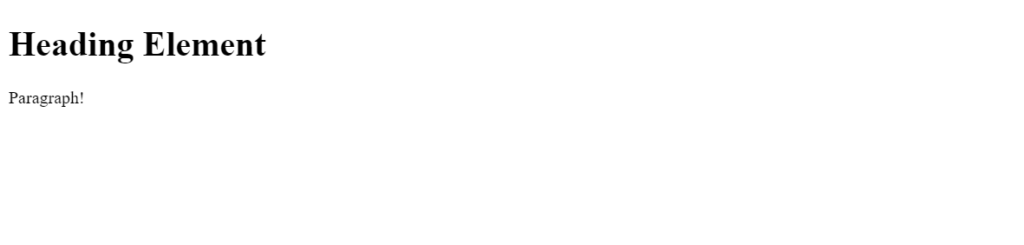
As you see above the HTML is rendered where the tabs, extra spaces, and line breaks are rendered as a single character.
Another interesting fact is the web browser inserts line breaks between words so that the text fits into available on-screen space.
How To Force a Line Break With the br Element?
There is a way you can force a line break to be shown by using the HTML br element.
Previously in this tutorial, we discussed that line breaks are treated as a single space character when displayed to a user, but when the br element is used, it tells the browser there is an explicit white space that should not be ignored. Below is an example of the br element in action being used to create a line break.
<p>
Cob salad <br>
is a <br> tasty salad.
</p>
The br element is a type of unique HTML element. It does not have an end-tag, only a start-tag. The HTML fragment above shows the br-tag twice. Rendered in a web browser, this HTML fragment would look like this:
Cob salad
is a
tasty salad.
Above the two explicit line breaks are rendered. Both of the br elements have been replaced by a line break.
Quick Fact: There is no special CSS line break properties, but you can create a line break with CSS by employing the pseudo-class ::after or ::before to a CSS selector.
If you want to insert an explicit line break in a web document, use the HTML br element. It’s the easiest method.
How To Create Paragraphs With the p Element?
The HTML paragraph element looks like this: <p>Content</p>. To use this element, one or more related sentences should be enclosed in the p element in your web page or file.
Here is an example of the paragraph element being used below:
<h1>Summer salad recipes</h1>
<p>The Internet is full of salad recipes. They are easy to find by using one of the search engines.</p>
<p>Here, though, I will tell you all about my favourite summer salads.</p>
The above example when viewed in a web browser the HTML fragment would render like this:
Summer salad recipes
The Internet is full of salad recipes. They are easy to find by using one of the search engines.

Here, though, I will tell you all about my favourite summer salads.
As you can see, a CSS margin-bottom has been set on each paragraph element, this created a padding/space after the first p element.
Quick Fact: You can control the margin size using CSS, telling the web browser how much space to put between paragraphs and much more.
How to Bold and Italicize Text With Elements?
In HTML you can bold text using the b element and with the i element, you can italicize text.
Wouldn’t it be nice to be able to add a bit of variation to the text in your HTML web pages? A bold word here and an italicized word there. It’s actually very easy, down below is a great example of using the b and i elements:
A <b>bold</b> word here
and an <i>italics</i> word there.
I told you it was easy.
The contents of the HTML b element are set with default CSS to bold the font and the contents of the element. On the other hand, the i element is set with CSS to italicize the text content of the element.
Later, when we get into CSS styles, you will learn how to control exactly how the contents of both the b and i elements and change how they are displayed to the user. In fact, using CSS you can make the content of a b element be any imaginable way that suits you.
How To Create Lists With the ui, oi, and li Elements?
We had a quick look at how you can make lists of items in the first HTML tutorial.
There are two types of HTML lists:
- Ordered list – the ol element
- Unordered list – the ul element
An ordered list numbers the items, while an unordered list prints a bullet or some similar graphic in front of each list item.
Here is a list in the HTML fragment below.
<ol>
  <li>Ordered list - the ol element</li>
  <li>Unordered list - the ul element</li>
</ol>
Above is an order list element. It contains two list items. The content of the ol and ul elements is a series of li elements, the list item elements. List item elements look like this below:
<li>List item one</li>
<li>List item two</li>
What would the HTML for a numbered ordered list of the four seasons of a year look like? Shown below is an example:
The four seasons:

<ol>
  <li>Summer</li>
  <li>Fall</li>
  <li>Winter</li>
  <li>Spring</li>
</ol>
Unordered lists as we talked about are lists defined without numbers or letters. Additionally, they use the ul elements to create a list. HTML unordered lists also use list items as shown below:
<ul>
  <li>List item one</li>
  <li>List item two</li>
  <li>List item three</li>
</ul>
The unordered list above will be displayed to the user in a browser like below:
- List item one
- List item two
- List item three
How To Create Page Structure With HTML?
Creating an HTML document for the web is a process of marking up the text you want to publish. You identify the structure of your web page and put HTML tags around each of the web page’s items.
You put appropriate text inside the heading elements, place the text content within paragraph elements and you put list items within list item elements. Creating an HTML document is really that easy!
There are many more types of HTML elements than described in this tutorial for different situations like images, SVGs, videos, and more.
By marking up the text of your document you clarify what the structure of the document is. You tell the web browsers or any other program that digest or renders where exactly the headings are, where each paragraph is, and more.
It’s all about structure!
Summary
You now know quite a lot about HTML. You know all you need to create reports, letters, diaries, recipes, and more using the HTML elements we have talked about. You can now create complete valid HTML web pages ready to be published on the internet.
In this HTML tutorial we have discussed these HTML elements:
- Headings: h1, h2, h3, h4, h5, h6
- Paragraph: p
- Bold: b
- Italics: i
- Ordered and Unordered lists: ol, ul
- List item: li
The above elements can all be used to mark up the structure of the contents of your HTML files.
In HTML tutorial two, How To Create a Valid HTML Web Page With Elements, we also discussed five other elements necessary to use in order to create valid HTML documents:
- The Document Type Declaration: <!doctype html>
- The html element: <html>
- The head element: <head>
- The title element: <title>
- The body element: <body>
Can you see how all of these elements have been used on this web page?
Other Tutorials in This Series
- Tutorial 1: How To Create Your First HTML Elements With Examples
- Tutorial 2: How To Create a Valid HTML Web Page With Elements
- Tutorial 3: What Are More Examples of HTML Elements and Structure
- Tutorial 4: How To Use CSS (Cascading Style Sheets) To Style HTML