This article demonstrates CSS chat boxes, definitions, walk-throughs, code examples, FAQs, and other chat-related developer information.
The chat box is a messaging interface that allows two or more people to exchange messages. The chat box is trendy and can be found anywhere on the internet. The chat box displays the user’s profile picture and the message text. CSS can be used to customize this chat box.
In today’s world, many online platforms employ chat box systems to engage with their customers or visitors to their websites. Nowadays, communication with clients is essential for building a successful business.
Any web developer should include chat capabilities as a feature on their website. Today, I’ll show you some HTML CSS javascript-based chat box templates that you may use in your project. Customers have questions to ask before purchasing a service or product. As a result, this feature will ensure that the firm functions efficiently and smoothly.
What is a Chat Box?
How are Chat Boxes Used?
Examples
Below are examples of how authors have used HTML and CSS to build chat box designs. Please feel free to incorporate them into your project.
Responsive Chat Box Widget
To design a Responsive Chatbox Widget. First, you must create two files: one HTML file and one CSS file. Then, copy and paste the following codes into your file after you’ve made these files.
First, create the HTML file called index.html and paste the following codes into it. Remember to save the file with the .html extension. Let’s begin
<!DOCTYPE html>
<!-- Created By CodingNepal -->
<html lang="en" dir="ltr">
   <head>
      <meta charset="utf-8">
      <title>Responsive Chat Box Designed By Appcode</title>
      <link rel="stylesheet" href="style.css">

   </head>
   <body>
      <input type="checkbox" id="click">
      <label for="click">
      <i class="fab fa-facebook-messenger"></i>
      <i class="fas fa-times"></i>
      </label>
      <div class="wrapper">
         <div class="head-text">
            Do you want to chat? Use The Live Chat Feature
         </div>
         <div class="chat-box">
            <div class="desc-text">
               Please fill out the form below to chat with our next available agent.
            </div>
            <form action="#">
               <div class="field">
                  <input type="text" placeholder="Your Name" required>
               </div>
               <div class="field">
                  <input type="email" placeholder="Email Address" required>
               </div>
               <div class="field Textarea">
                  <textarea cols="30" rows="10" placeholder="Explain your queries.." required></textarea>
               </div>
               <div class="field">
                  <button type="submit">Start Chat</button>
               </div>
            </form>
         </div>
      </div>
   </body>
</html>
This is what we’ve got so far. It doesn’t look like much, but we still need to style it. So, moving on to the CSS part of it.
@import URL('https://fonts.googleapis.com/css?family=Poppins:400,500,600,700&display=swap');
*{
  margin: 0;
  padding: 0;
  box-sizing: border-box;
  font-family: 'Poppins,' sans-serif;
}
body{
  overflow: hidden;
  background: #c2b504;
}
#click{
  display: none;
}
label{
  position: absolute;
  right: 30px;
  bottom: 20px;
  height: 55px;
  width: 55px;
  background: -WebKit-linear-gradient(left, #2E3192, #1BFFFF);
  text-align: center;
  line-height: 55px;
  border-radius: 50px;
  font-size: 30px;
  color: #fff;
  cursor: pointer;
}
label i{
  position: absolute;
  top: 50%;
  left: 50%;
  transform: translate(-50%, -50%);
  transition: all 0.4s ease;
}
label i.fas{
  opacity: 0;
  pointer-events: none;
}
#click:checked ~ label i.fas{
  opacity: 1;
  pointer-events: auto;
  transform: translate(-50%, -50%) rotate(180deg);
}
#click:checked ~ label i.fab{
  opacity: 0;
  pointer-events: none;
  transform: translate(-50%, -50%) rotate(180deg);
}
.wrapper{
  position: absolute;
  right: 30px;
  bottom: 0px;
  max-width: 400px;
  background: #fff;
  border-radius: 15px;
  box-shadow: 0px 15px 20px rgba(0,0,0,0.1);
  opacity: 0;
  pointer-events: none;
  transition: all 0.6s cubic-bezier(0.68,-0.55,0.265,1.55);
}
#click:checked ~ .wrapper{
  opacity: 1;
  bottom: 85px;
  pointer-events: auto;
}
.wrapper .head-text{
  line-height: 60px;
  color: #fff;
  border-radius: 15px 15px 0 0;
  padding: 0 20px;
  font-weight: 500;
  font-size: 20px;
  background: -WebKit-linear-gradient(left, #02AABD, #00CDAC);
}
.wrapper .chat-box{
  padding: 20px;
  width: 100%;
}
.chat-box .desc-text{
  color: #515365;
  text-align: center;
  line-height: 25px;
  font-size: 17px;
  font-weight: 500;
}
.chat-box form{
  padding: 10px 15px;
  margin: 20px 0;
  border-radius: 25px;
  border: 1px solid lightgrey;
}
.chat-box form .field{
  height: 50px;
  width: 100%;
  margin-top: 20px;
}
.chat-box form .field:last-child{
  margin-bottom: 15px;
}
form .field input,
form .field button,
form .textarea textarea{
  width: 100%;
  height: 100%;
  padding-left: 20px;
  border: 1px solid lightgrey;
  outline: none;
  border-radius: 25px;
  font-size: 16px;
  transition: all 0.3s ease;
}
form .field input:focus,
form .textarea textarea:focus{
  border-color: #fc83bb;
}
form .field input::placeholder,
form .textarea textarea::placeholder{
  color: silver;
  transition: all 0.3s ease;
}
form .field input:focus::placeholder,
form .textarea textarea:focus::placeholder{
  color: lightgrey;
}
.chat-box form .textarea{
  height: 70px;
  width: 100%;
}
.chat-box form .textarea textarea{
  height: 100%;
  border-radius: 50px;
  resize: none;
  padding: 15px 20px;
  font-size: 16px;
}
.chat-box form .field button{
  border: none;
  outline: none;
  cursor: pointer;
  color: #fff;
  font-size: 18px;
  font-weight: 500;
  background: -WebKit-linear-gradient(left, #02AABD,#00CDAC);
  transition: all 0.3s ease;
}
.chat-box form .field button:active{
  transform: scale(0.97);
}
Voila! Now let’s see what we’ve accomplished with the styling.
Awesome right? Feel free to play around with the codes and customize them to your taste. Click here to get started.
A Simple Web-Based Chat Box
This tutorial will use HTML and CSS3 to create a simple web-based chat design. Let’s get started, first, with the HTML.
<!DOCTYPE html>
<html lang="en">
    <head>
        <meta charset="utf-8" />
        <title>Sppcode Live Chat Tutorial</title>
        <meta name="description" content="Tuts+ Chat Application" />
        <link rel="stylesheet" href="style.css" />
    </head>
    <body>
        <div id="wrapper">
            <div id="menu">
                <p class="welcome">Welcome, this is Appcode's Live Chat Tutorial<b></b></p>
                <p class="logout"><a id="exit" href="#">Exit Chat</a></p>
            </div>
            <div id="chatbox"></div>
            <form name="message" action="">
                <input name="usermsg" type="text" id="usermsg" />
                <input name="submitmsg" type="submit" id="submitmsg" value="Send" />
            </form>
        </div>

    </body>
</html>
We begin with the standard DOCTYPE, html, head, and body tags. Next, we’ll have three primary blocks: a simple menu, a chatbox, and a message input, all with their div and id.
Two paragraph elements will make up the #menu div. The first will be a welcome message to the user on the left, and the second will be an exit link on the right. For the layout, we’re using flexbox instead of floating elements.
* {
    margin: 0;
    padding: 0;
  }

  body {
    margin: 20px auto;
    font-family: "Lato";
    font-weight: 300;
  }

  form {
    padding: 15px 25px;
    display: flex;
    gap: 10px;
    justify-content: center;
  }

  form label {
    font-size: 1.5rem;
    font-weight: bold;
  }

  input {
    font-family: "Lato";
  }

  a {
    color: #0000ff;
    text-decoration: none;
  }

  a:hover {
    text-decoration: underline;
  }

  #wrapper,
  #loginform {
    margin: 0 auto;
    padding-bottom: 25px;
    background: #eee;
    width: 600px;
    max-width: 100%;
    border: 2px solid #212121;
    border-radius: 4px;
  }

  #loginform {
    padding-top: 18px;
    text-align: center;
  }

  #loginform p {
    padding: 15px 25px;
    font-size: 1.4rem;
    font-weight: bold;
  }

  #chatbox {
    text-align: left;
    margin: 0 auto;
    margin-bottom: 25px;
    padding: 10px;
    background: #fff;
    height: 300px;
    width: 530px;
    border: 1px solid #a7a7a7;
    overflow: auto;
    border-radius: 4px;
    border-bottom: 4px solid #a7a7a7;
  }

  #usermsg {
    flex: 1;
    border-radius: 4px;
    border: 1px solid #ff9800;
  }

  #name {
    border-radius: 4px;
    border: 1px solid #ff9800;
    padding: 2px 8px;
  }

  #submitmsg,
  #enter{
    background: #ff9800;
    border: 2px solid #e65100;
    color: white;
    padding: 4px 10px;
    font-weight: bold;
    border-radius: 4px;
  }

  .error {
    color: #ff0000;
  }

  #menu {
    padding: 15px 25px;
    display: flex;
  }

  #menu p.welcome {
    flex: 1;
  }

  a#exit {
    color: white;
    background: #c62828;
    padding: 4px 8px;
    border-radius: 4px;
    font-weight: bold;
  }

  .msgln {
    margin: 0 0 5px 0;
  }

  .msgln span.left-info {
    color: orangered;
  }

  .msgln span.chat-time {
    color: #666;
    font-size: 60%;
    vertical-align: super;
  }

  .msgln b.user-name, .msgln b.user-name-left {
    font-weight: bold;
    background: #546e7a;
    color: white;
    padding: 2px 4px;
    font-size: 90%;
    border-radius: 4px;
    margin: 0 5px 0 0;
  }

  .msgln b.user-name-left {
    background: orangered;
  }
What does it look like? Check out the screenshot below. Seems quite simple right? Well, as it should. But to bring this widget to life, you must add a bit of PHP and MySQL, and you’ll be good to go. Customize this design here on Codepen.
Simple Chat Box with Users’ Profile Pictures
The chat box is an interface that allows two or more people to exchange messages. The chat box is quite popular and can be found online. The chat box displays the user’s profile picture and the message contents. CSS can be used to customize this chat box.
We will make a chatbox where two people can share text messages. Consider a element as a wrapper for the chat messages. The height and width of the < div> must be specified.
Inside the container , define two . Next, add an to each that will float to the left. Next, add some text and the time the message was sent. Right, the time will float.
Finally, use the CSS clear attribute to remove the float so that the components do not overlap. To differentiate the chats, use a different backdrop color. Include some margin and padding as well. We’ve made a simple chat bubble where two users can share text messages.
<!DOCTYPE html>
<html lang="en">
<head>
<meta charset="utf-8">
<title>HTML</title>
</head>
<body>

   <div class="container">
     <h2>Chatbox Tutorial By Appcode </h2>
	 <div class="you">
		 <img src="https://images.unsplash.com/photo-1613005798967-632017e477c8?ixlib=rb-4.0.3&ixid=MnwxMjA3fDB8MHxzZWFyY2h8Mnx8bW9kZWx8ZW58MHx8MHx8&auto=format&fit=crop&w=500&q=60" >
		 <p class="p"> what's up bro</p>
		 <span class="time">10:00</span>
     </div>
     <div class="other">
	    <img src="https://images.unsplash.com/photo-1524041255072-7da0525d6b34?ixlib=rb-4.0.3&ixid=MnwxMjA3fDB8MHxzZWFyY2h8OXx8bW9kZWx8ZW58MHx8MHx8&auto=format&fit=crop&w=500&q=60">
		<p> Hello!!! How did you get my number</p>
		<span class="time">12:01</span>
     </div>
      <div class="you">
		 <img src="https://images.unsplash.com/photo-1515886657613-9f3515b0c78f?ixlib=rb-4.0.3&ixid=MnwxMjA3fDB8MHxwaG90by1wYWdlfHx8fGVufDB8fHx8&auto=format&fit=crop&w=420&q=80" >
		 <p> wats up, are you home?</p>
		 <span class="time">12:30</span>
     </div>
     <div class="other">
	    <img src="https://images.unsplash.com/photo-1534528741775-53994a69daeb?ixlib=rb-4.0.3&ixid=MnwxMjA3fDB8MHxzZWFyY2h8NHx8bW9kZWx8ZW58MHx8MHx8&auto=format&fit=crop&w=500&q=60">
		<p> Hello Tosin! You left your car keys...</p>
		<span class="time">02:00</span>
     </div>
   </div>
</body>
</html>
Now, let’s style with CSS
   .container {
    width: 500px;
	height: 500px;
	background-color: #a6fbff ;
    box-shadow: 2px 1px 1px 1px rgba(0,0,0,0.2);
     padding-top: 3px;

   }

.container h2 {
  font-family: calibri;
  color: blue;
}
   img {
     border-radius: 50%;
	 height: 50px;
	 width: 50px;
	 float: left;
   }

   .time {
     float: right;
   }
   .you {
      background-color: #cccccc;
	  border-radius: 5px;
      padding: 10px;
      margin: 10px 0;

   }

.you p {
  font-family: cambria;
  font-weight: bold;
  margin-left: 60px;
  font-size: 17px;

}
   .other {
      background-color: #eeeeee;
	  border-color: #dddddd;
	  border-radius: 5px;
      padding: 10px;
      margin: 10px 0;

   }

.other p{
   font-family: Cambria;
  font-weight: bold;
  margin-left: 60px;
  font-size: 17px;

}
   .you:after, .other:after{
      content: "";
      clear: both;
      display: table;
   }
   h2 {
      text-align: center;
   }
So, here’s what that looks like:
Frequently Asked Questions
Conclusion
That’s it; you’ve successfully designed a Responsive Chat Box UI using simple HTML and CSS. I hope you found these examples helpful. If so, leave a comment below and check out our other posts. Thank you for stopping by the blog.
Other Examples
CSS chat box examples can be found all over the web. They are included in many social media platforms and enable communication between two users. It is easy to build a chat box using CSS. Below, we provide examples of how authors have created chat box designs with HTML and CSS. These examples come from codepen.io and around the web. Additionally, Feel free to use these examples in your project.
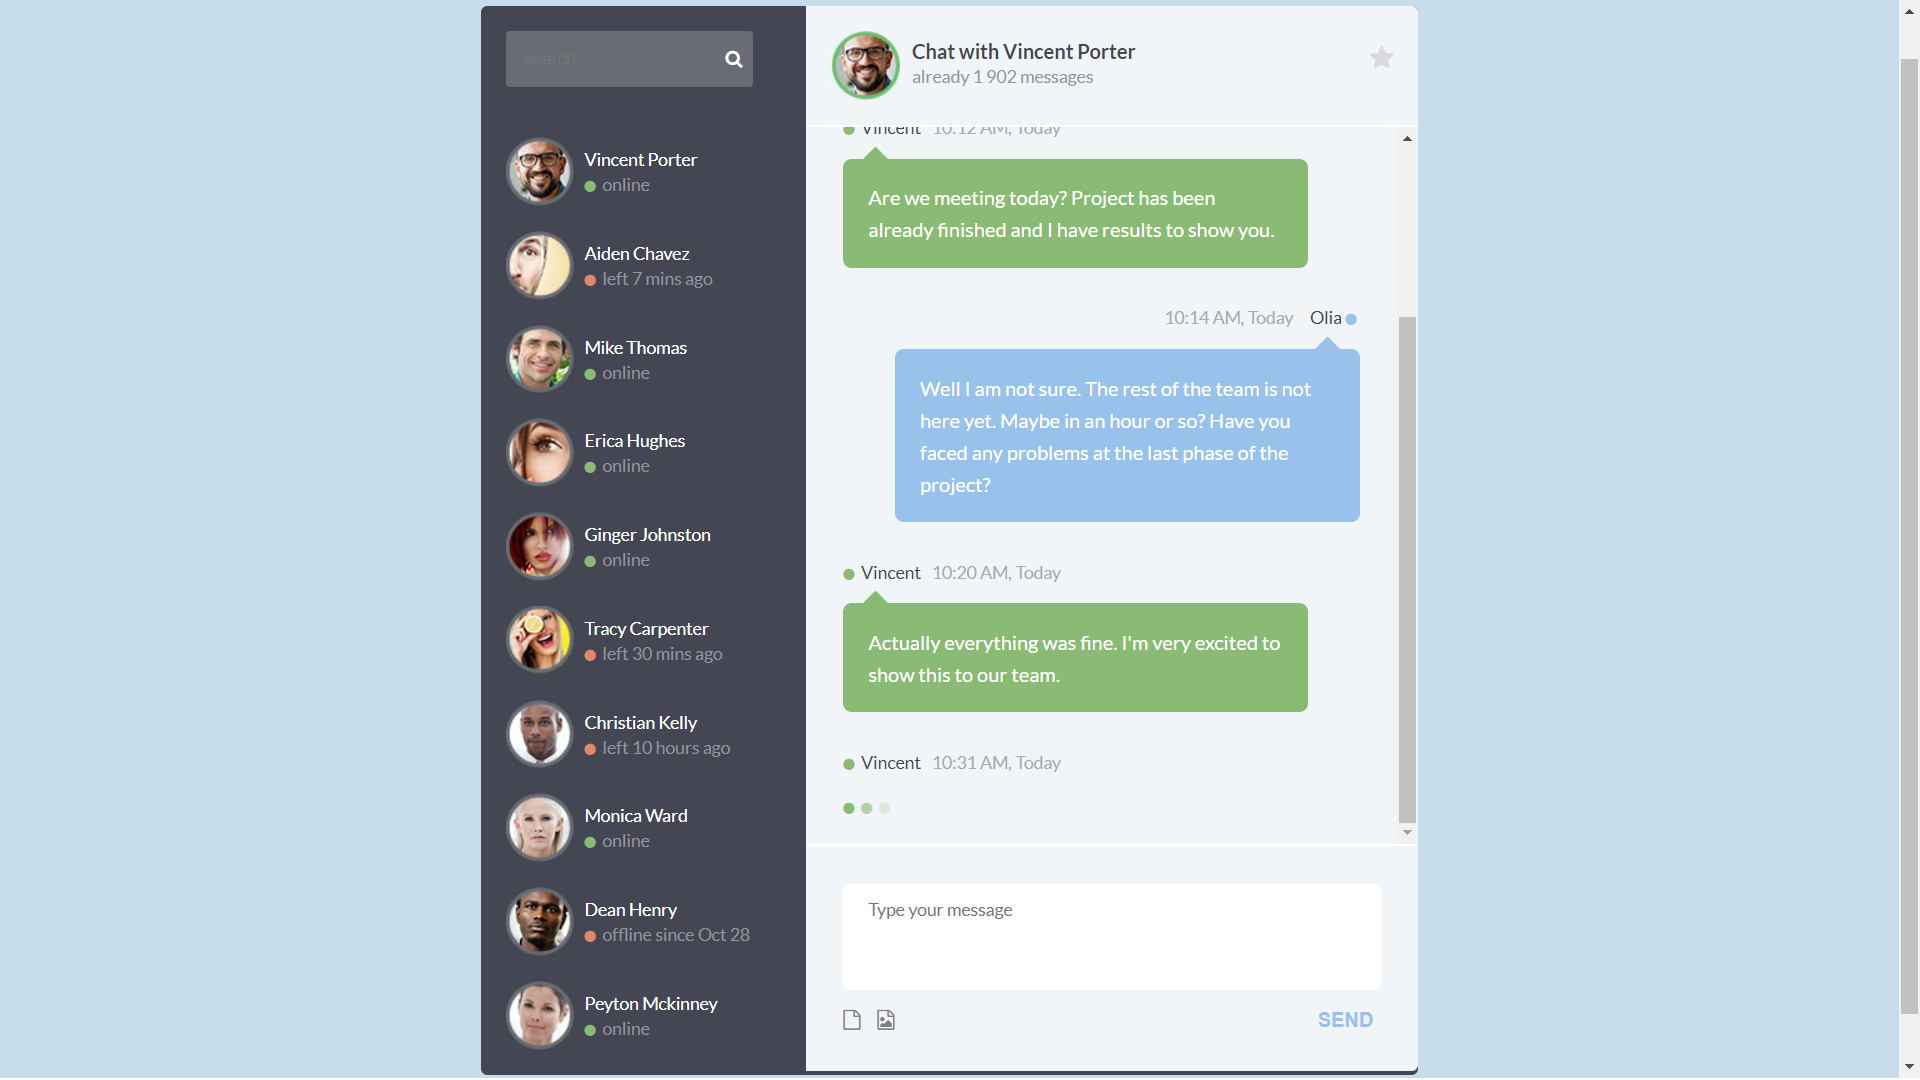
About Project
CSS Chat Widget
Links
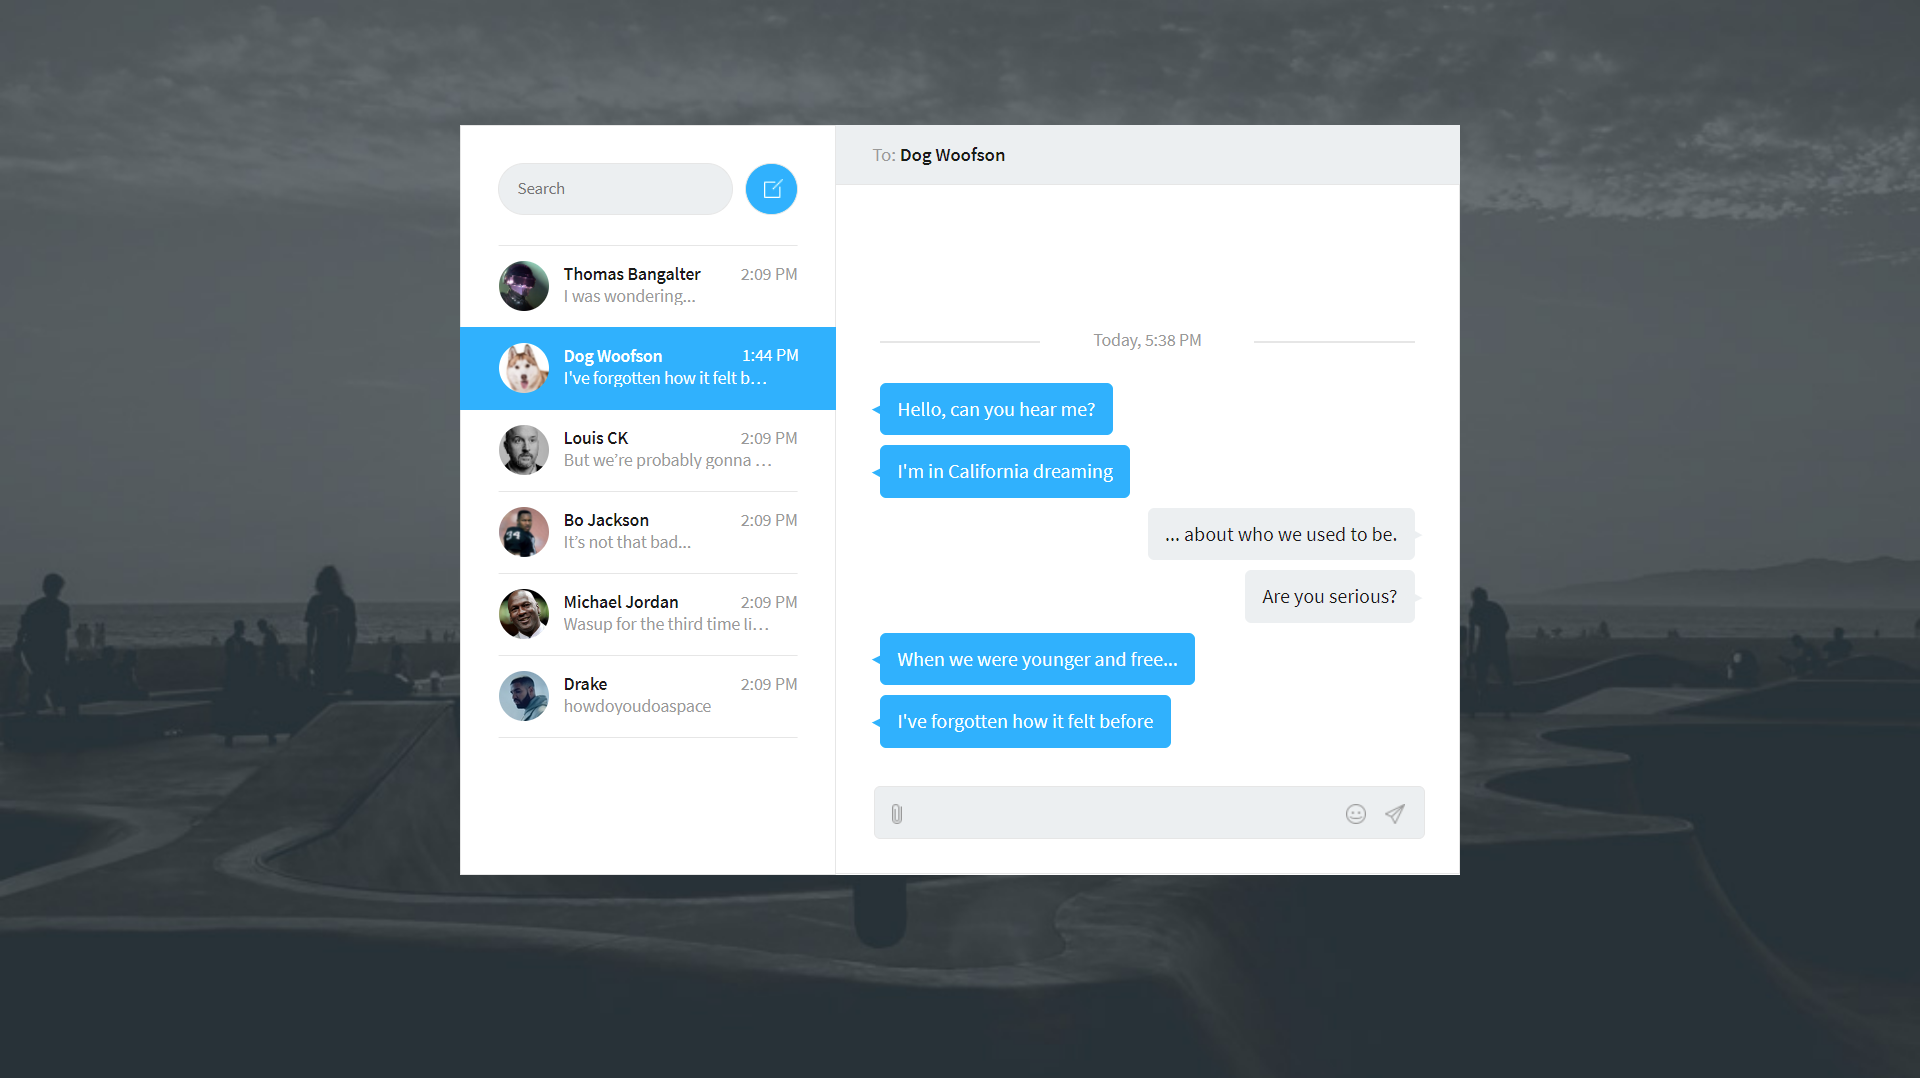
About Project
CSS Direct Messaging
Links
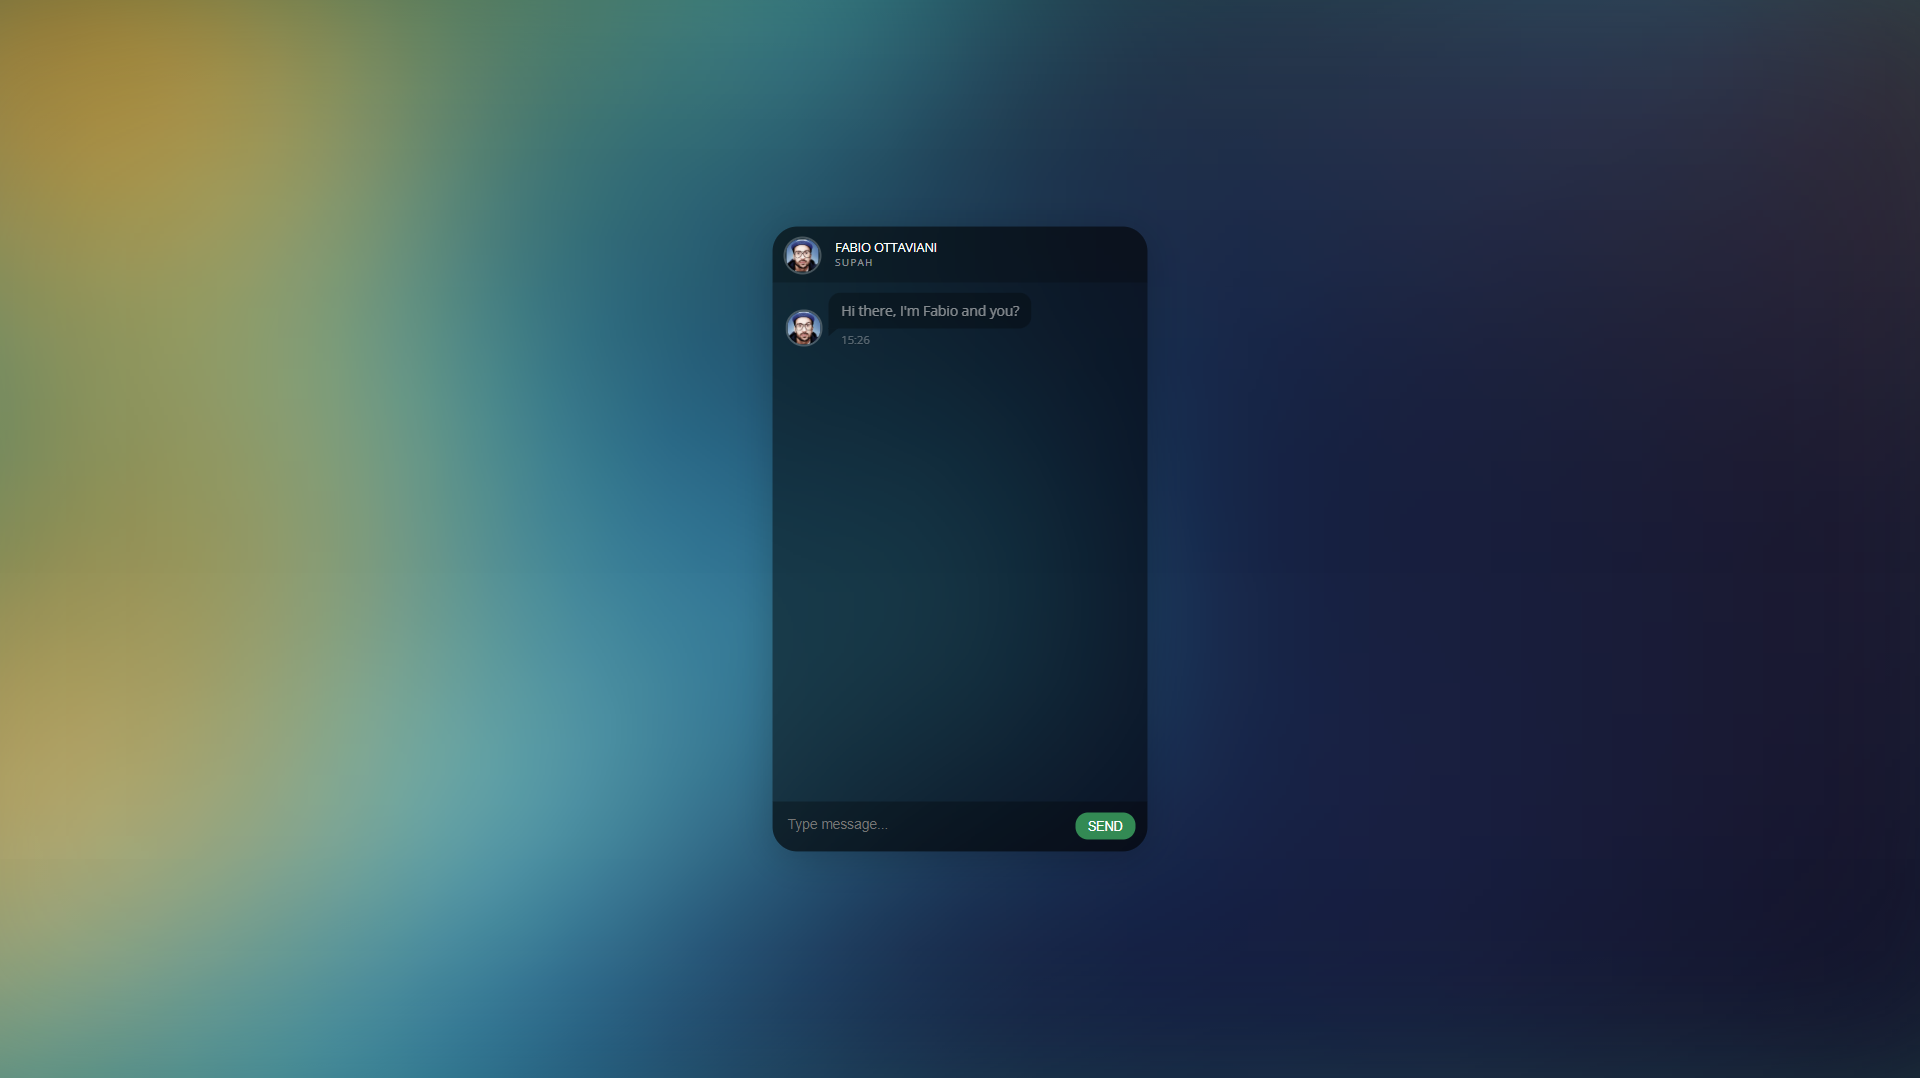
About Project
Responsive Direct Messaging
Links
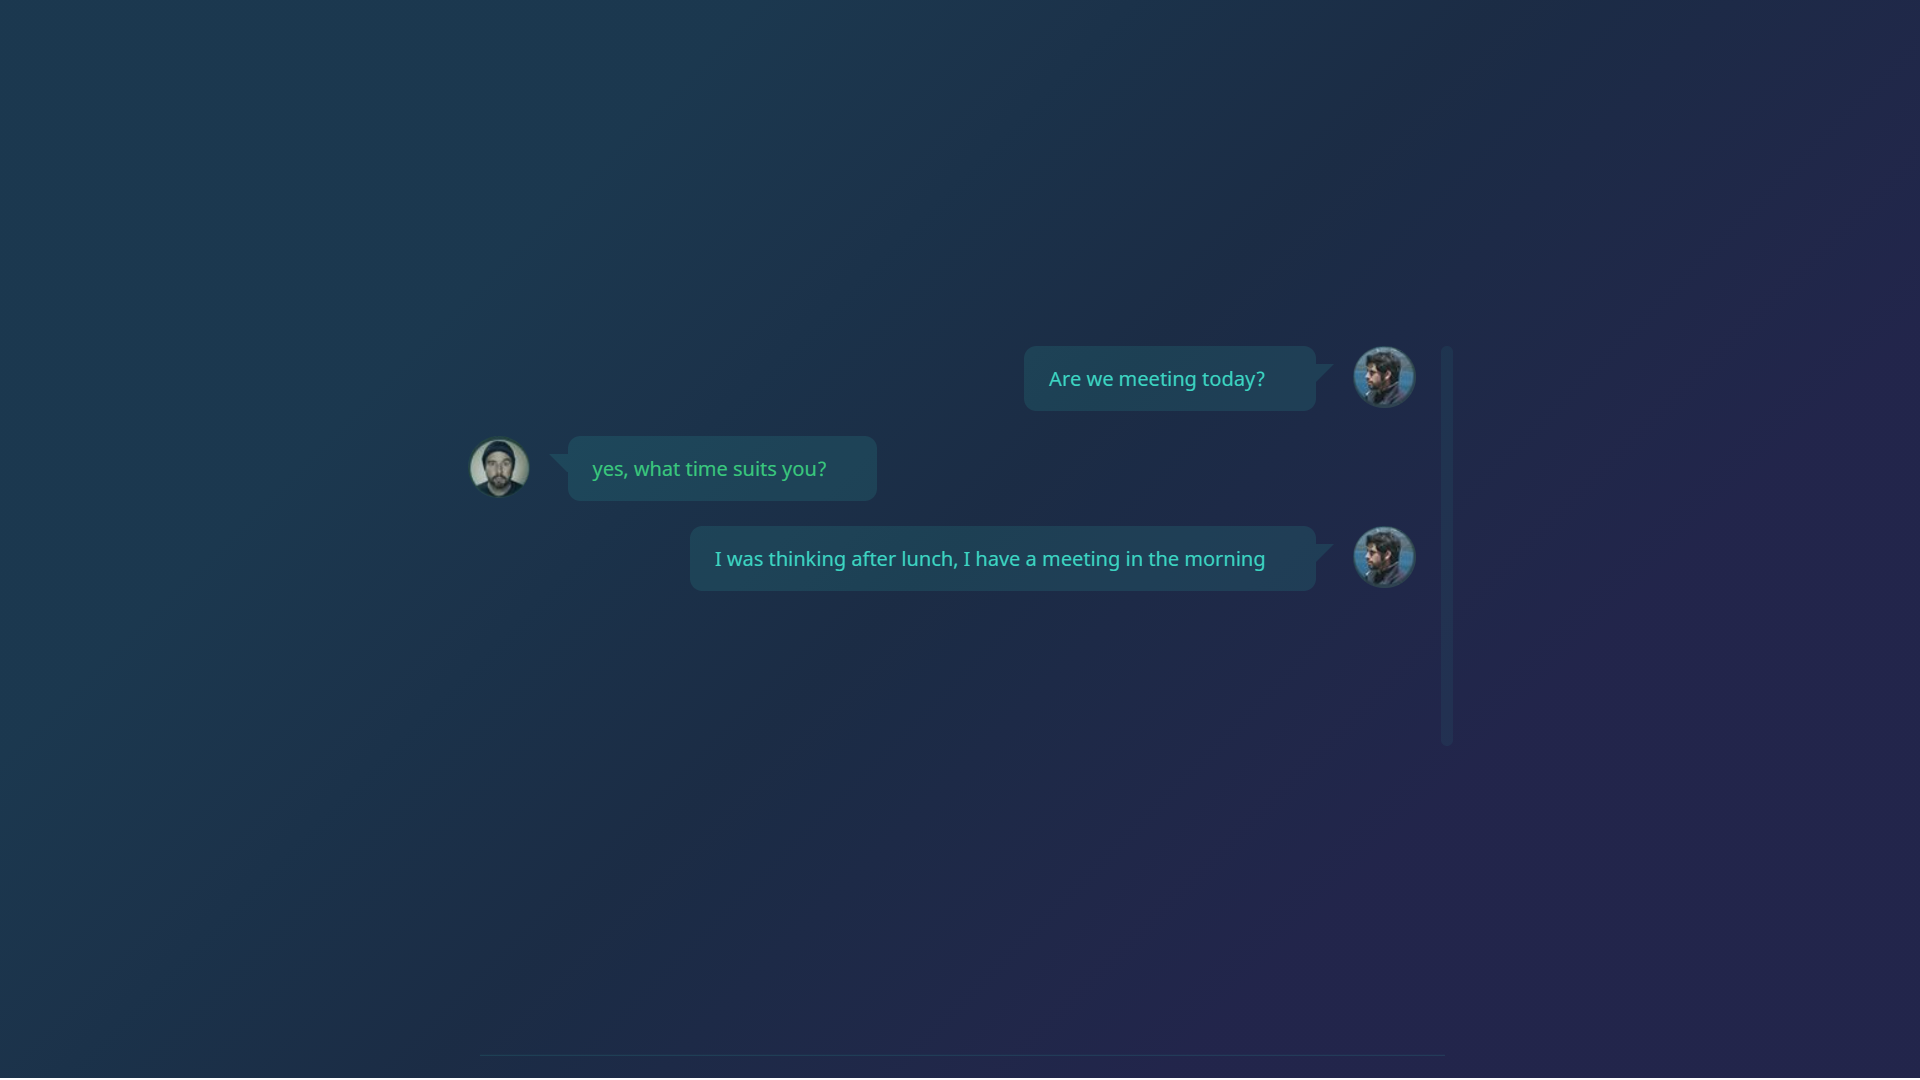
About Project
Simple CSS Web Chat
Links
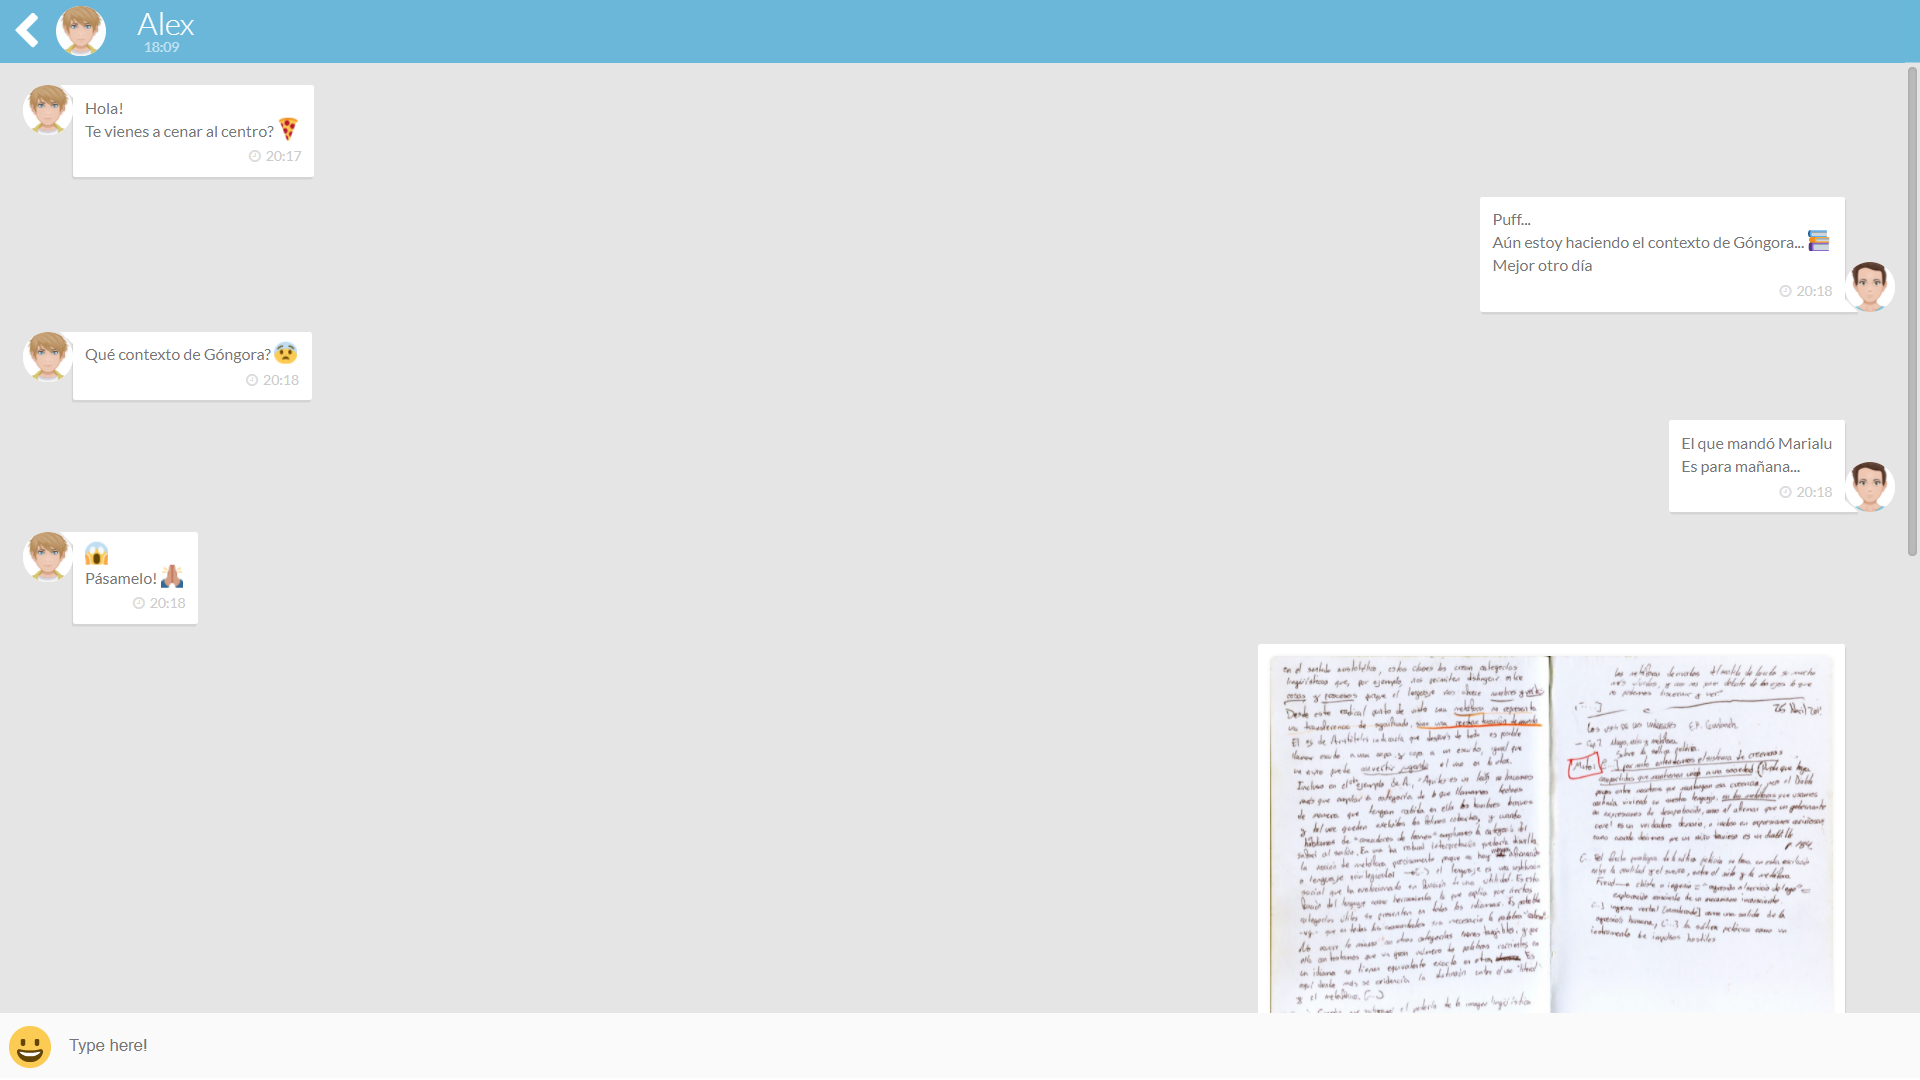
About Project
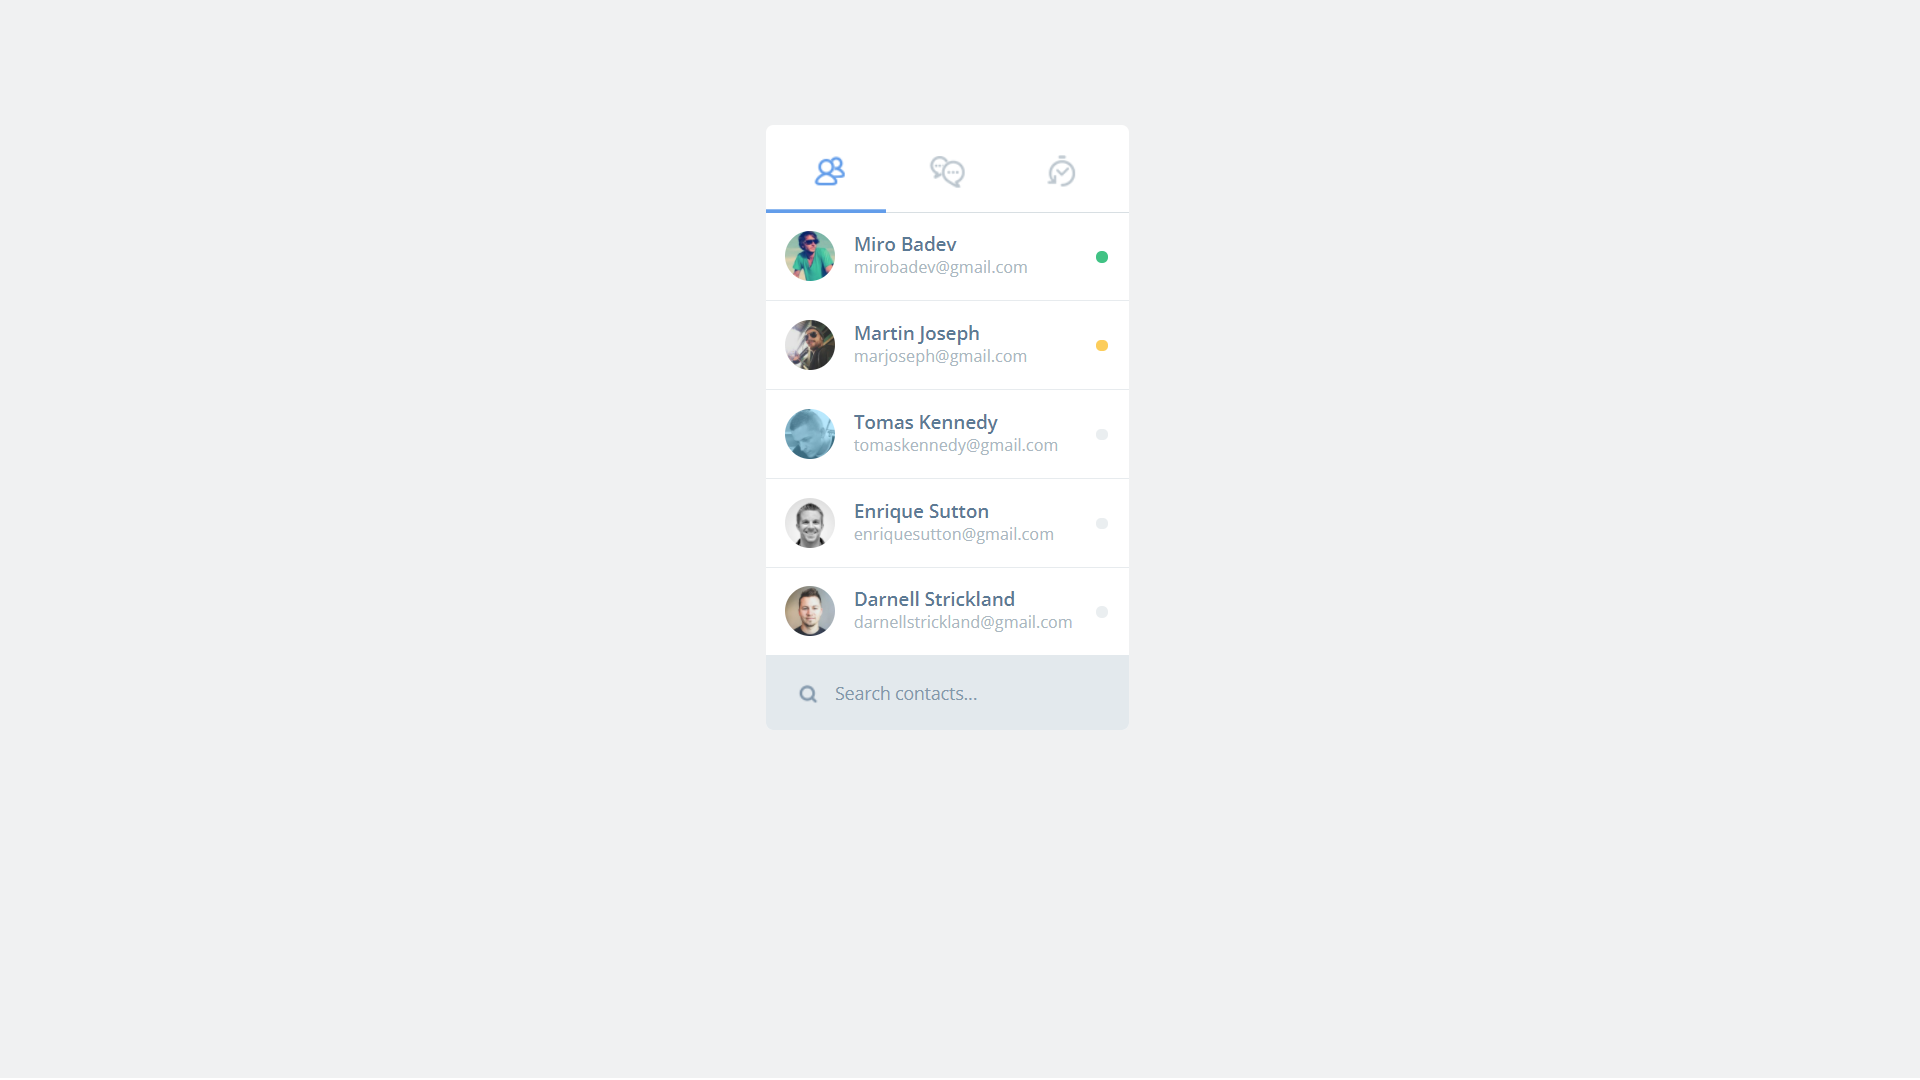
Responsive CSS Chat
Links
About Project
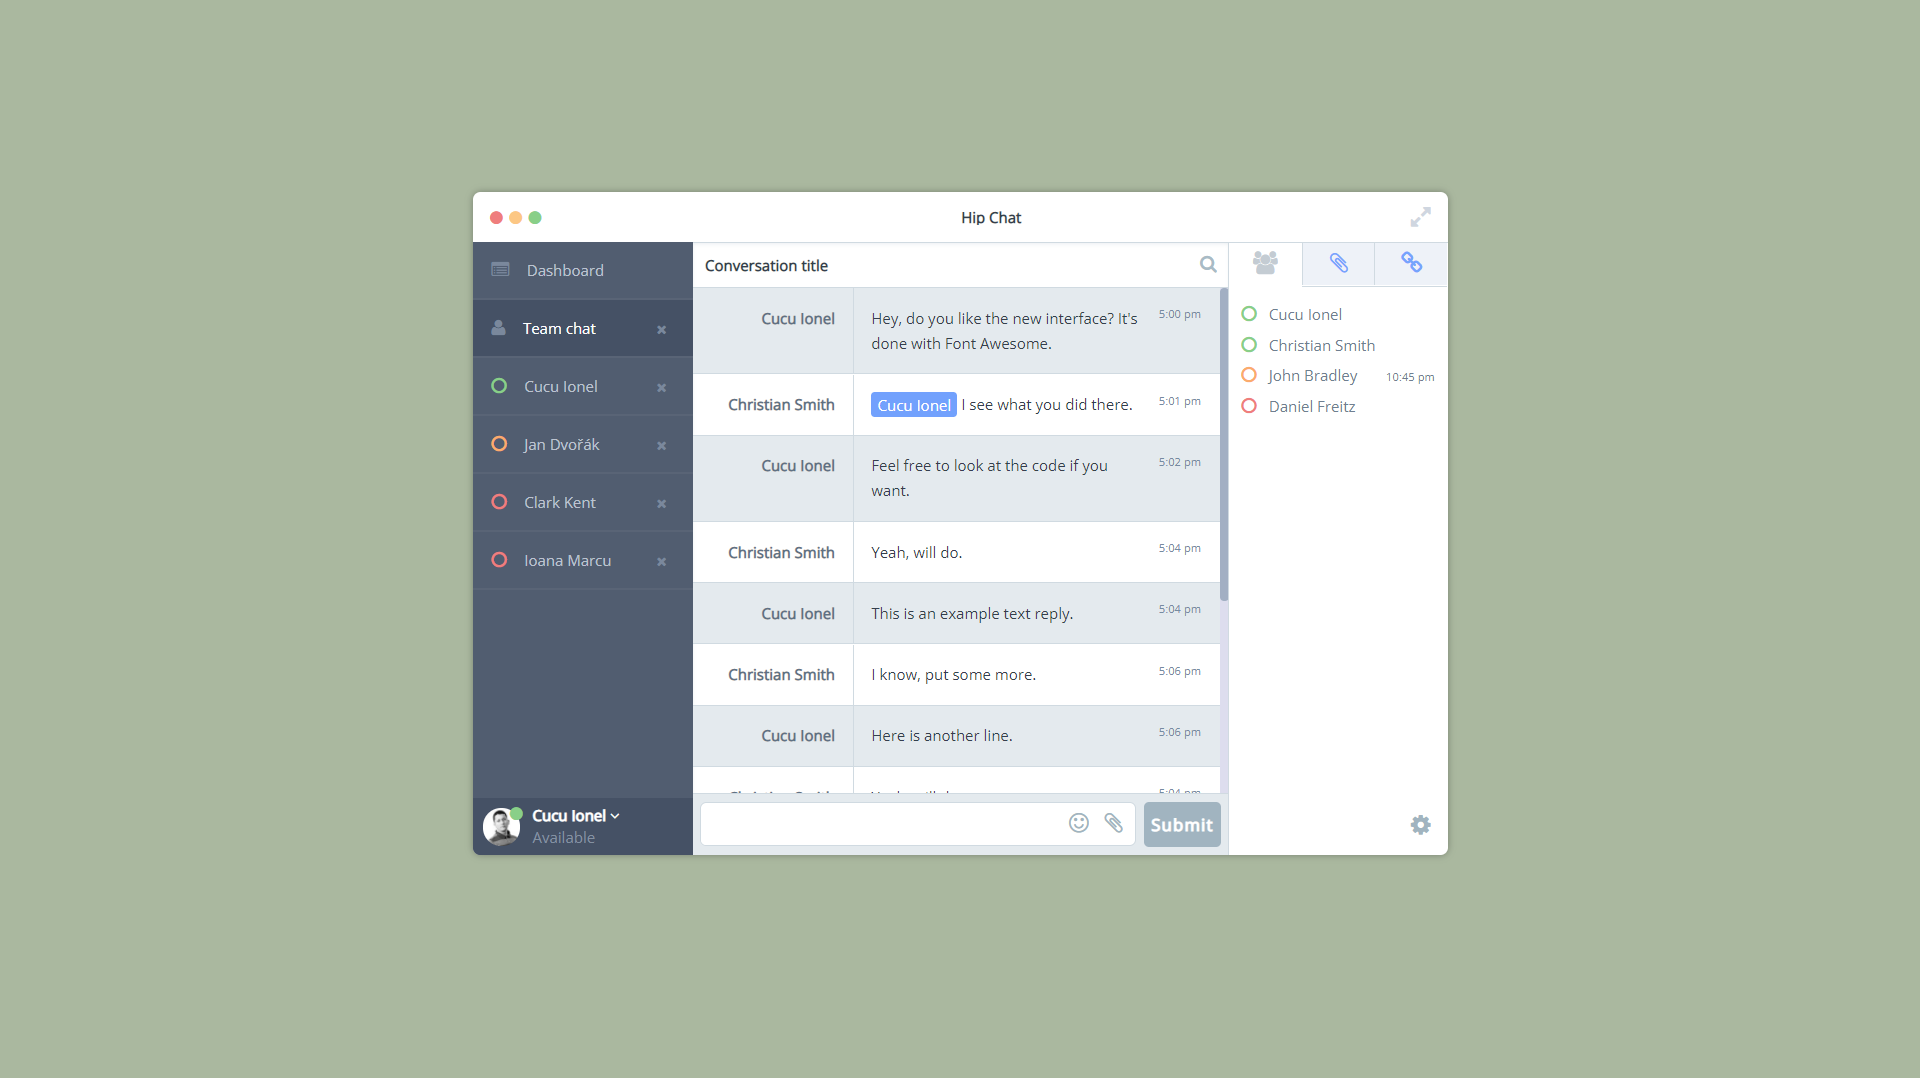
Mobile CSS Chat Box
Links
About Project
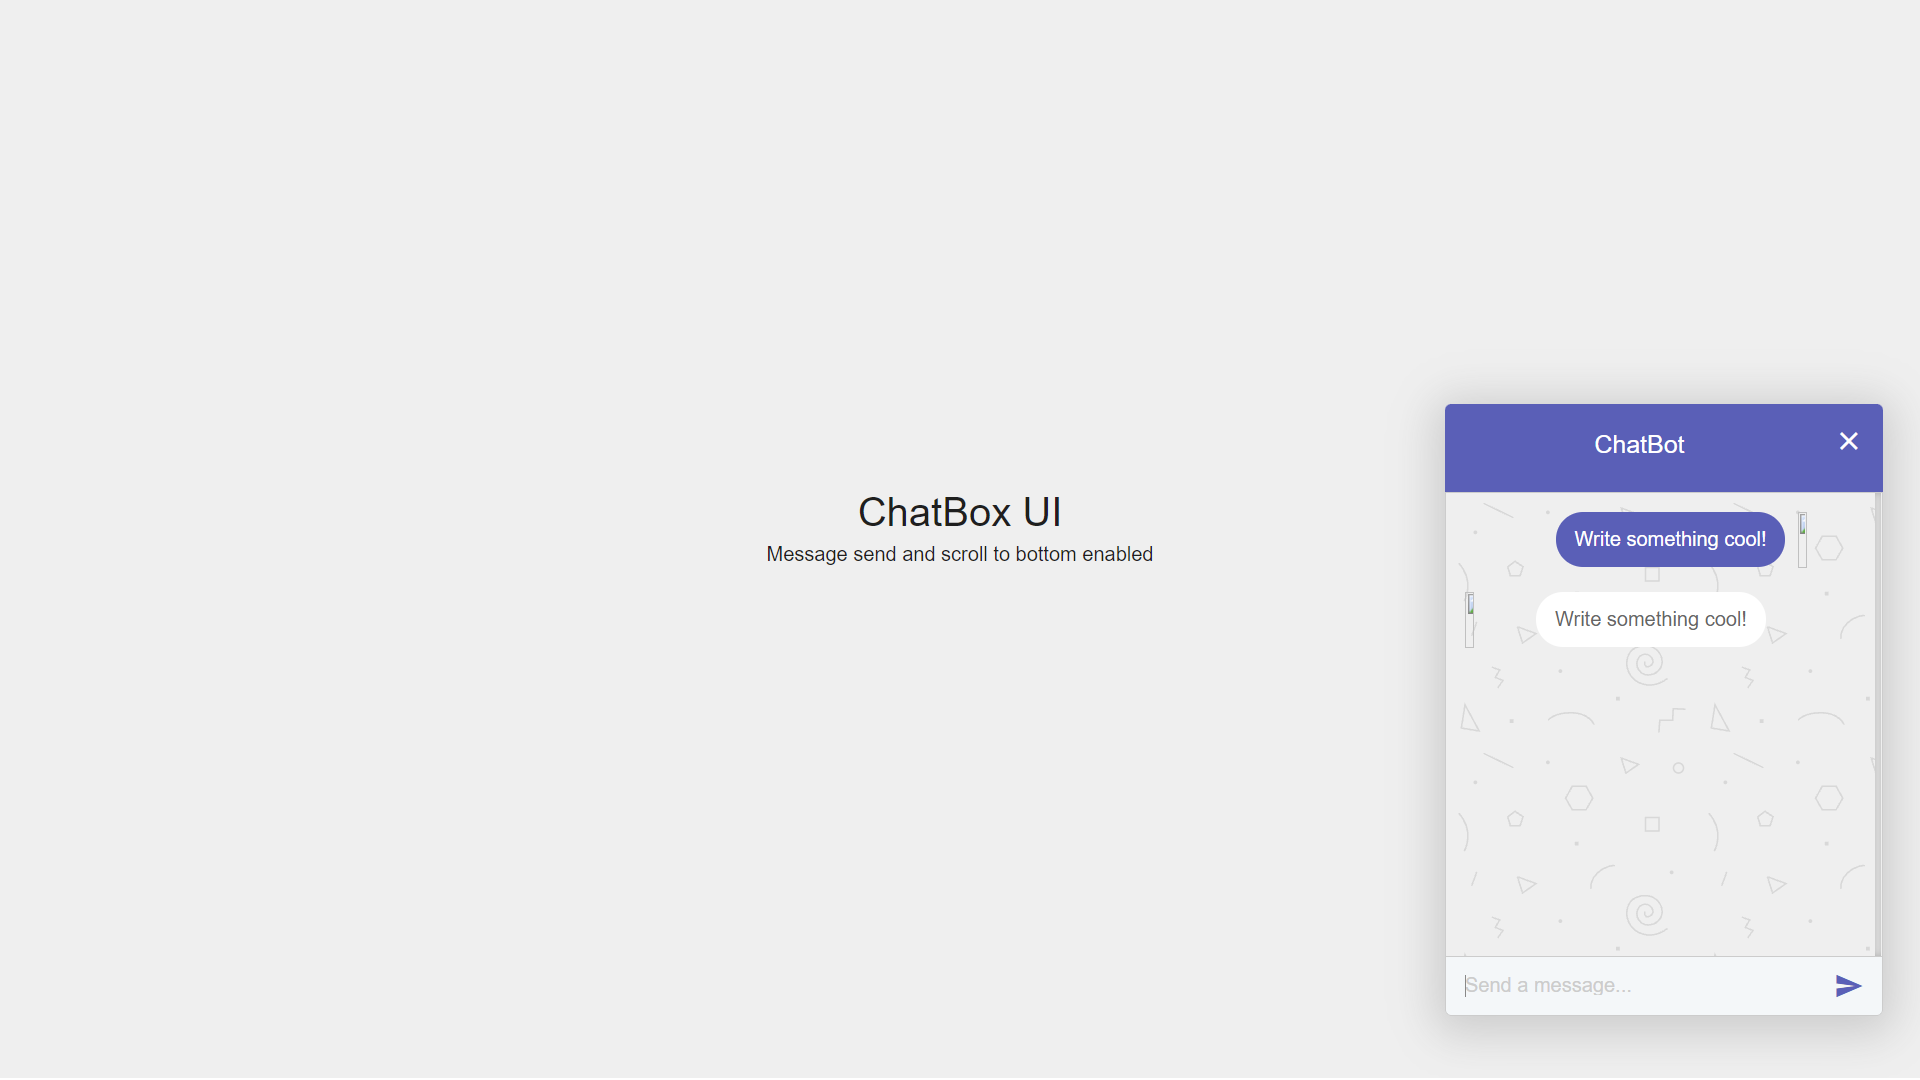
HTML CSS HipChat Redesign
Links
About Project
CSS Chat UI With Button
Links
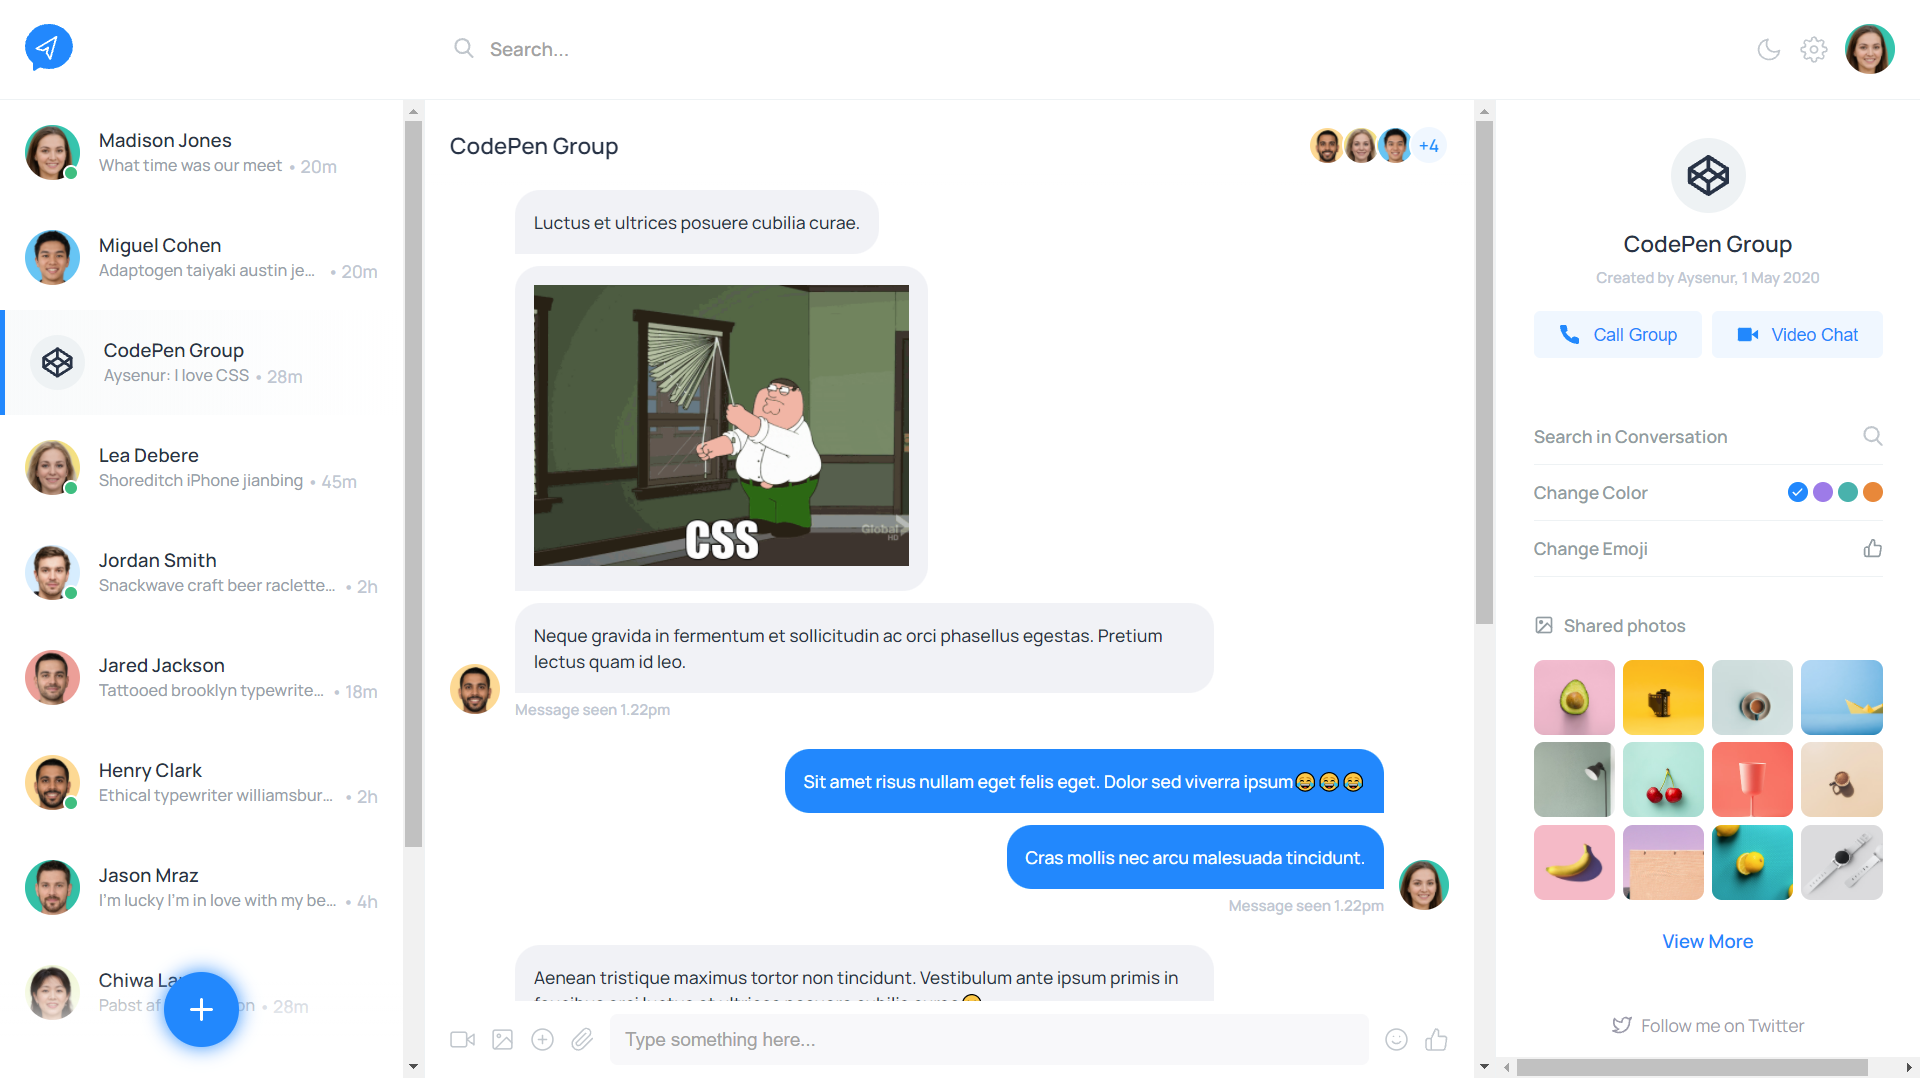
About Project
CSS Messaging App UI With Dark Mode
Links
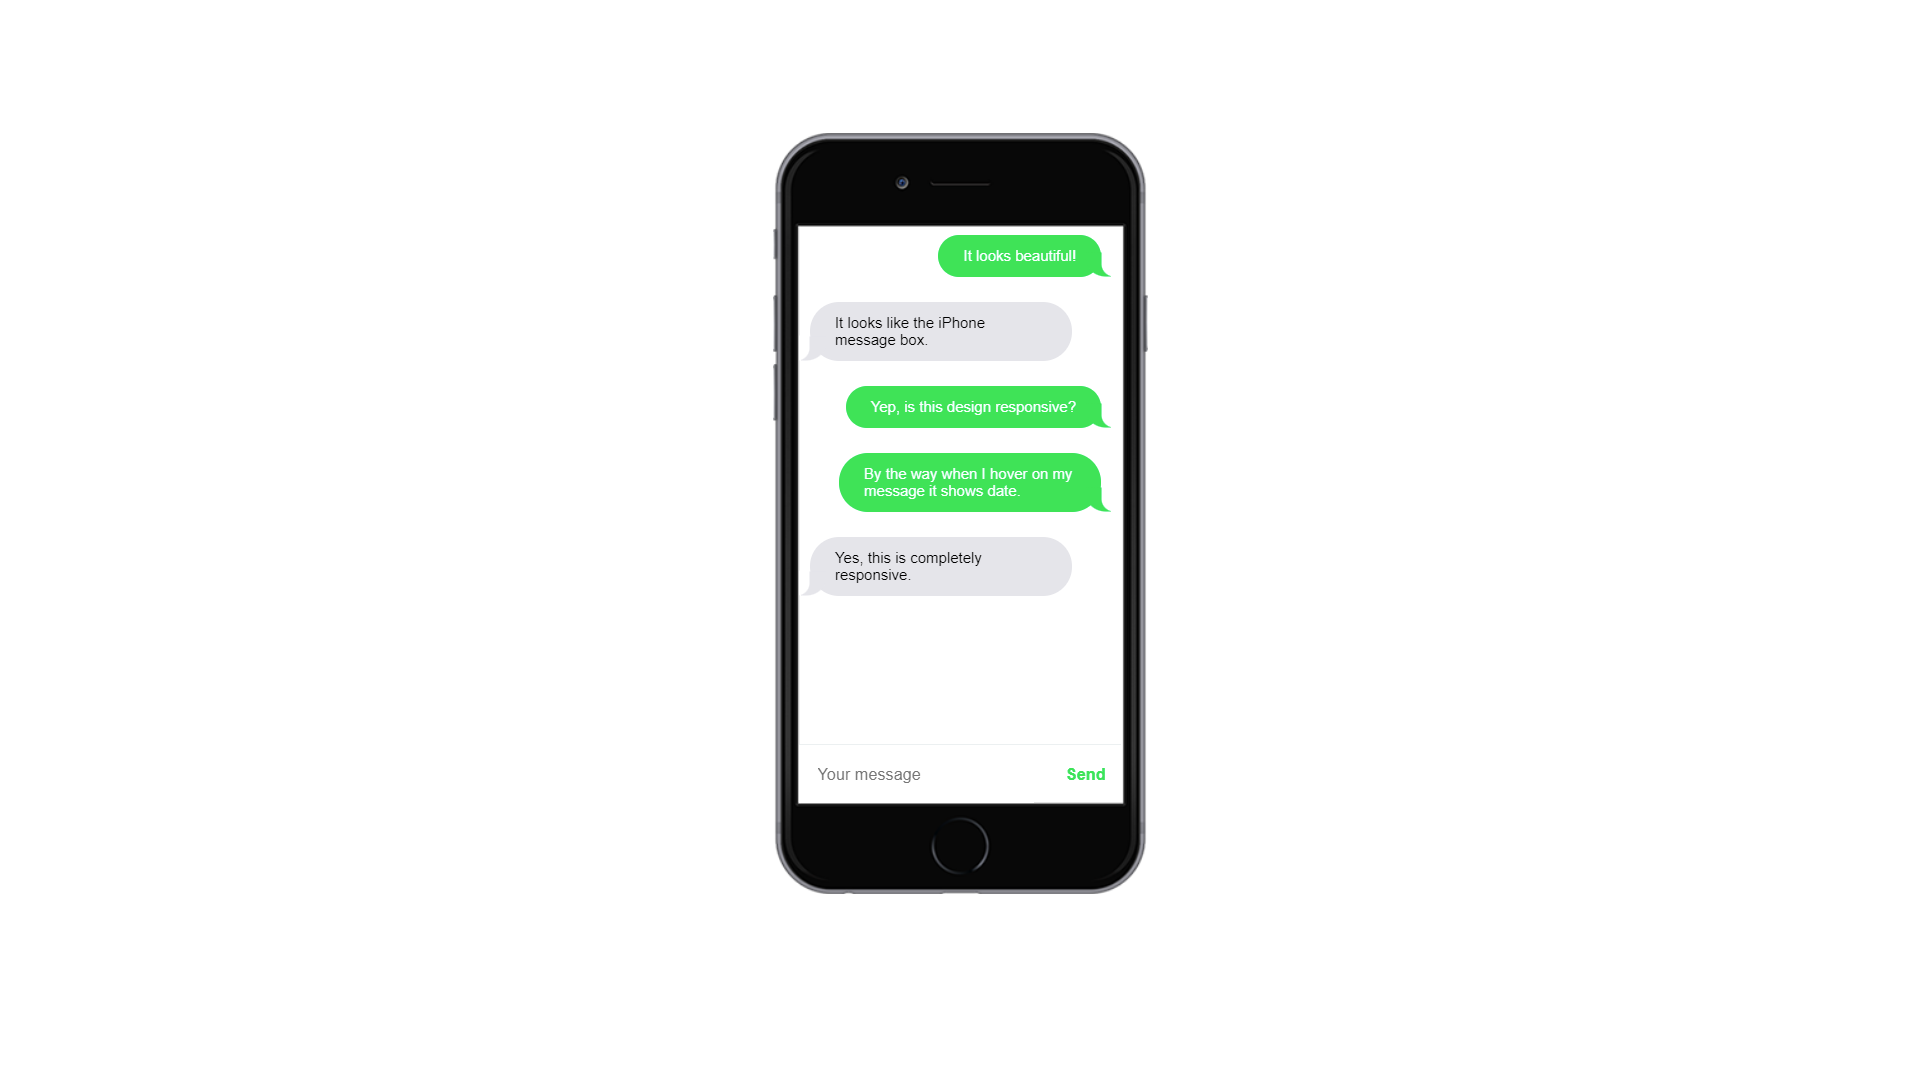
About Project
CSS and HTML Reponsive iOS iMessage Chat
Links
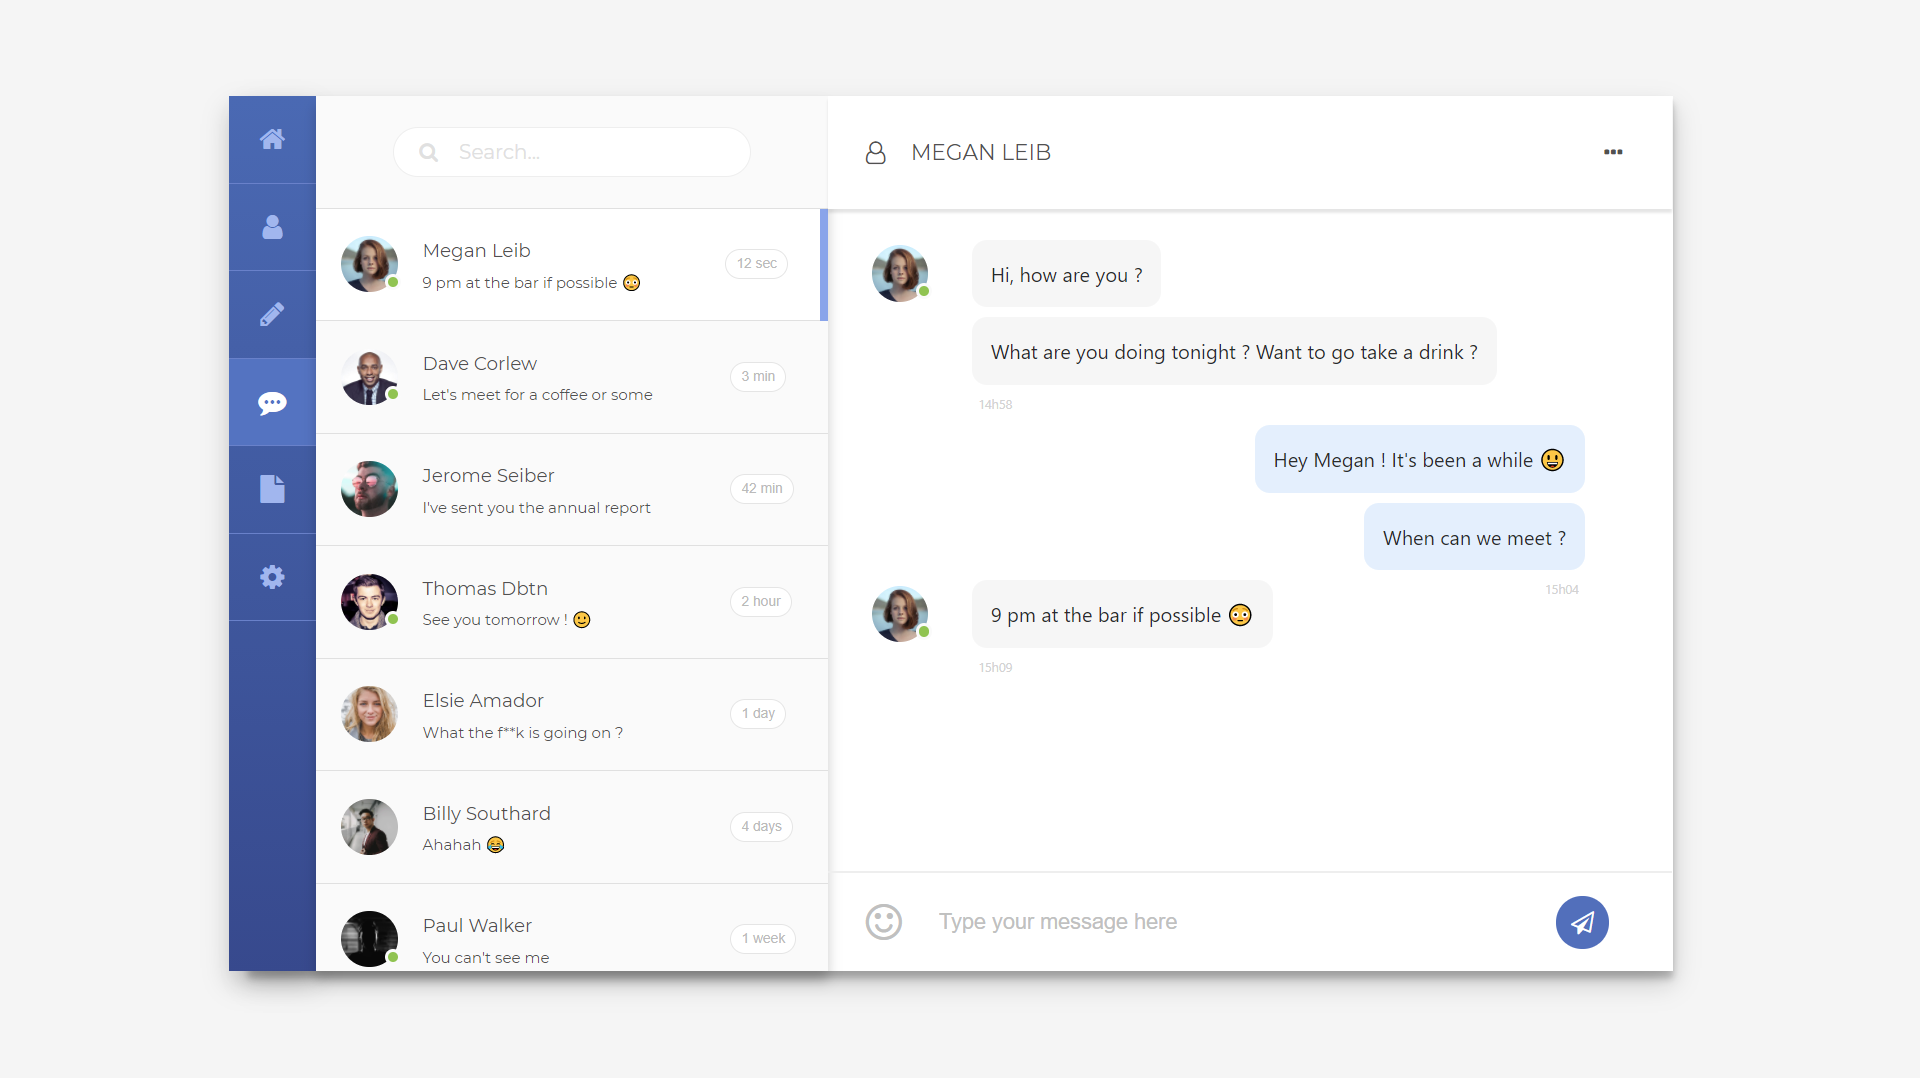
About Project
Material CSS Messaging App Concept
Links
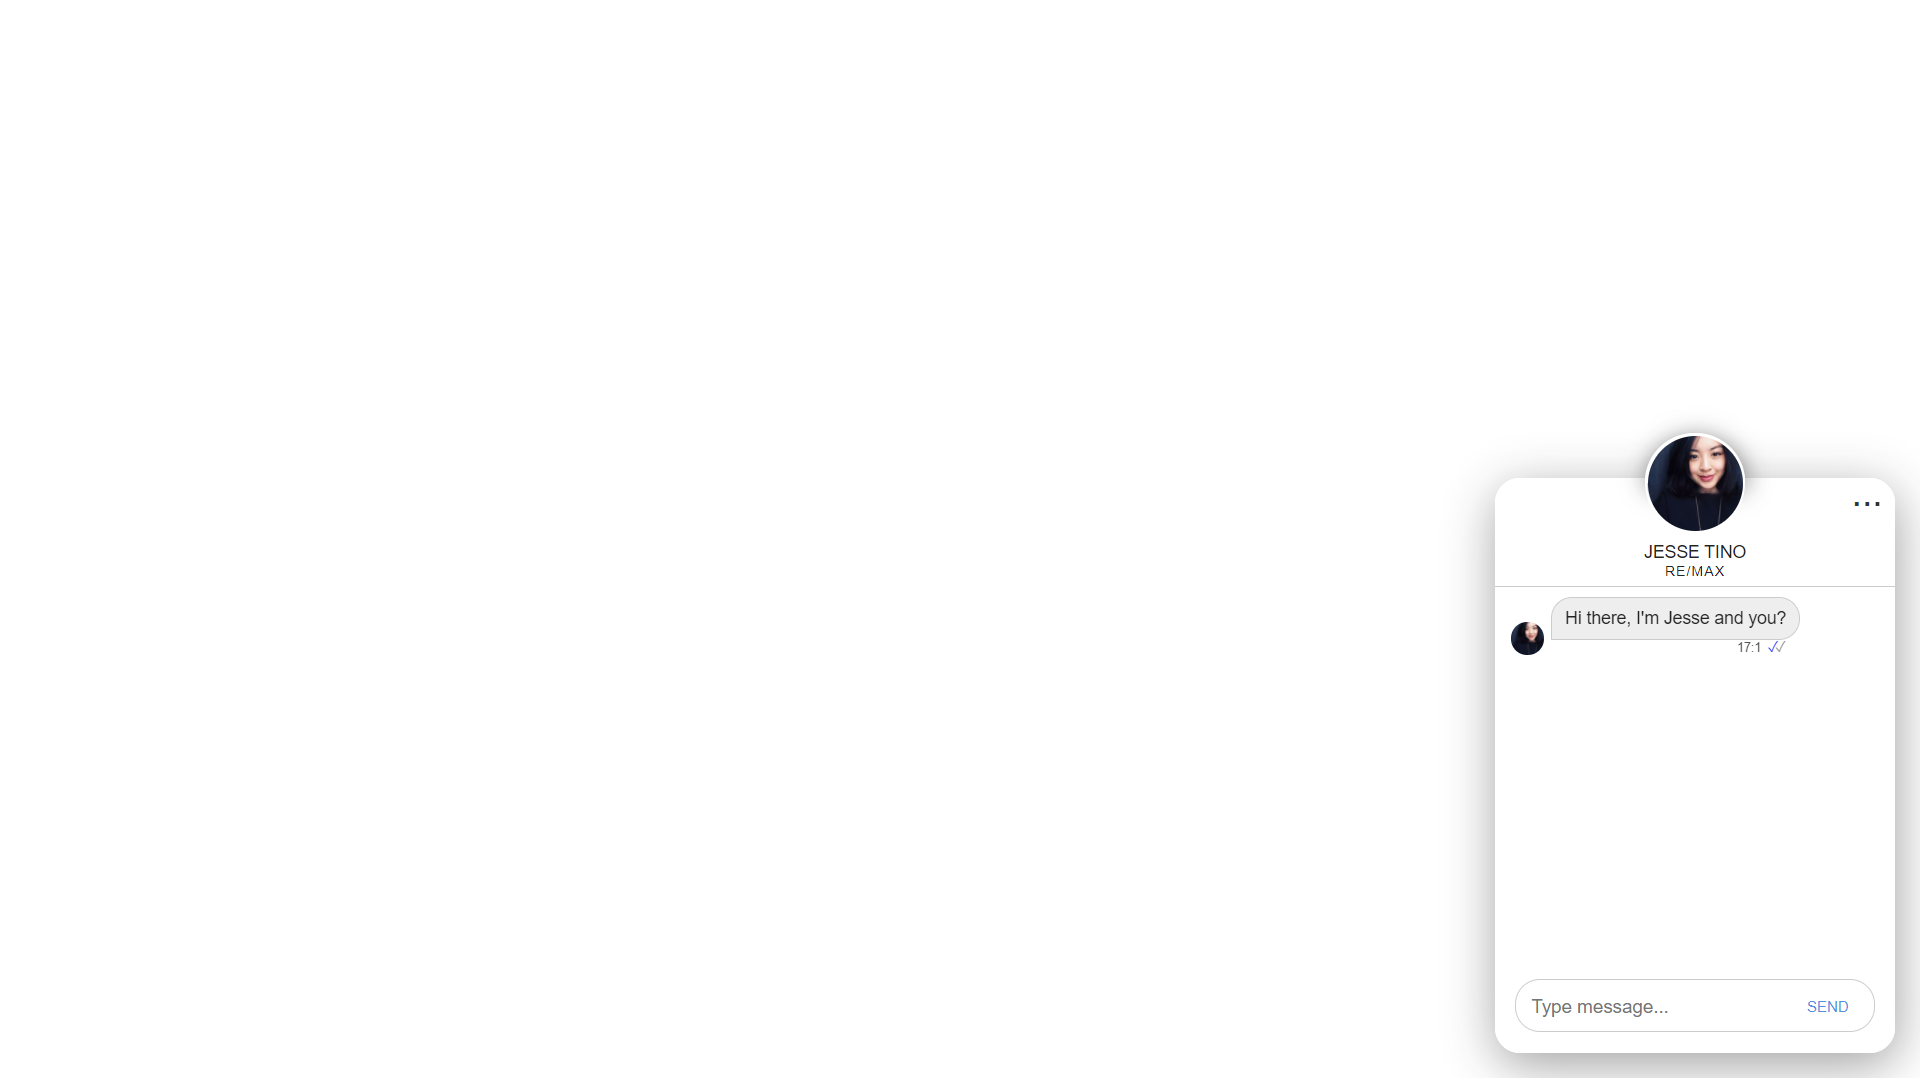
About Project
Responsive CSS Chat Widget
Links
About Project
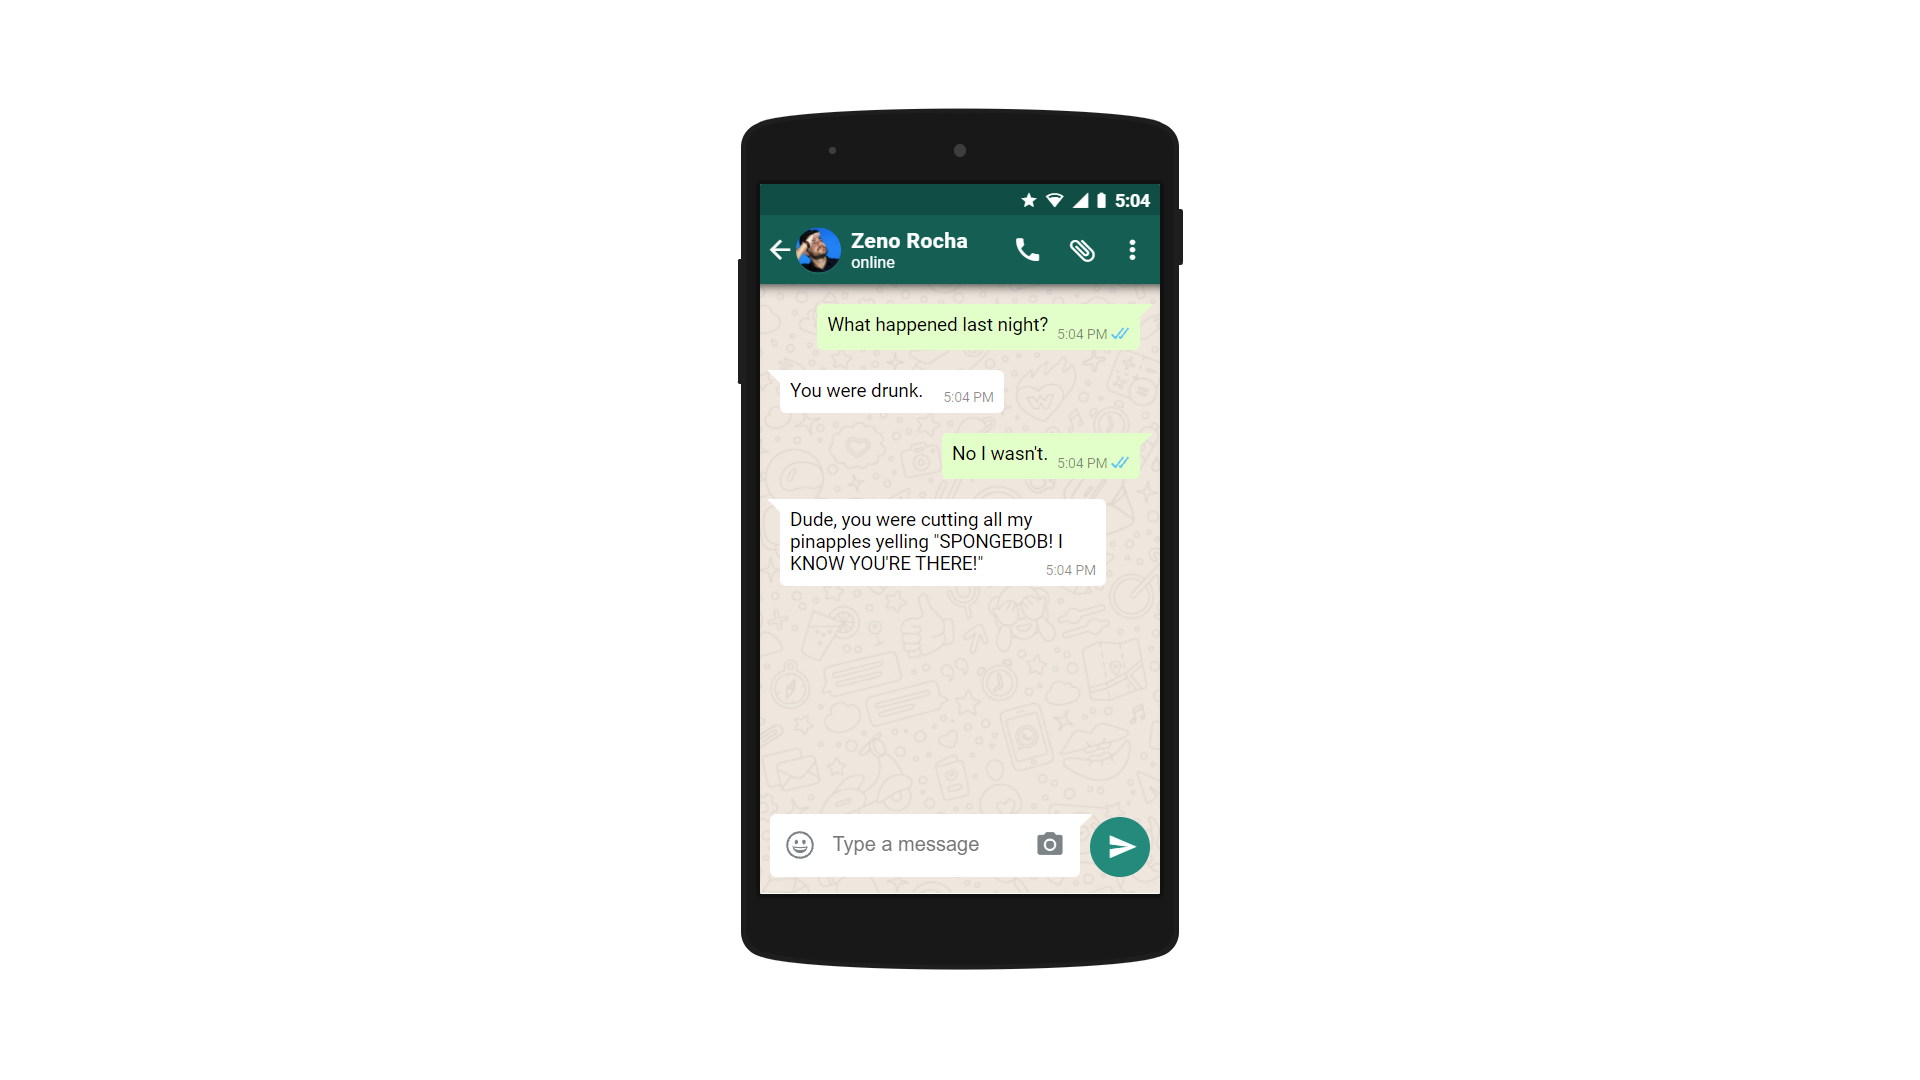
WhatsApp in Pure CSS and JS
About Project
Animated CSS Chat Bar Interaction
Links
About Project
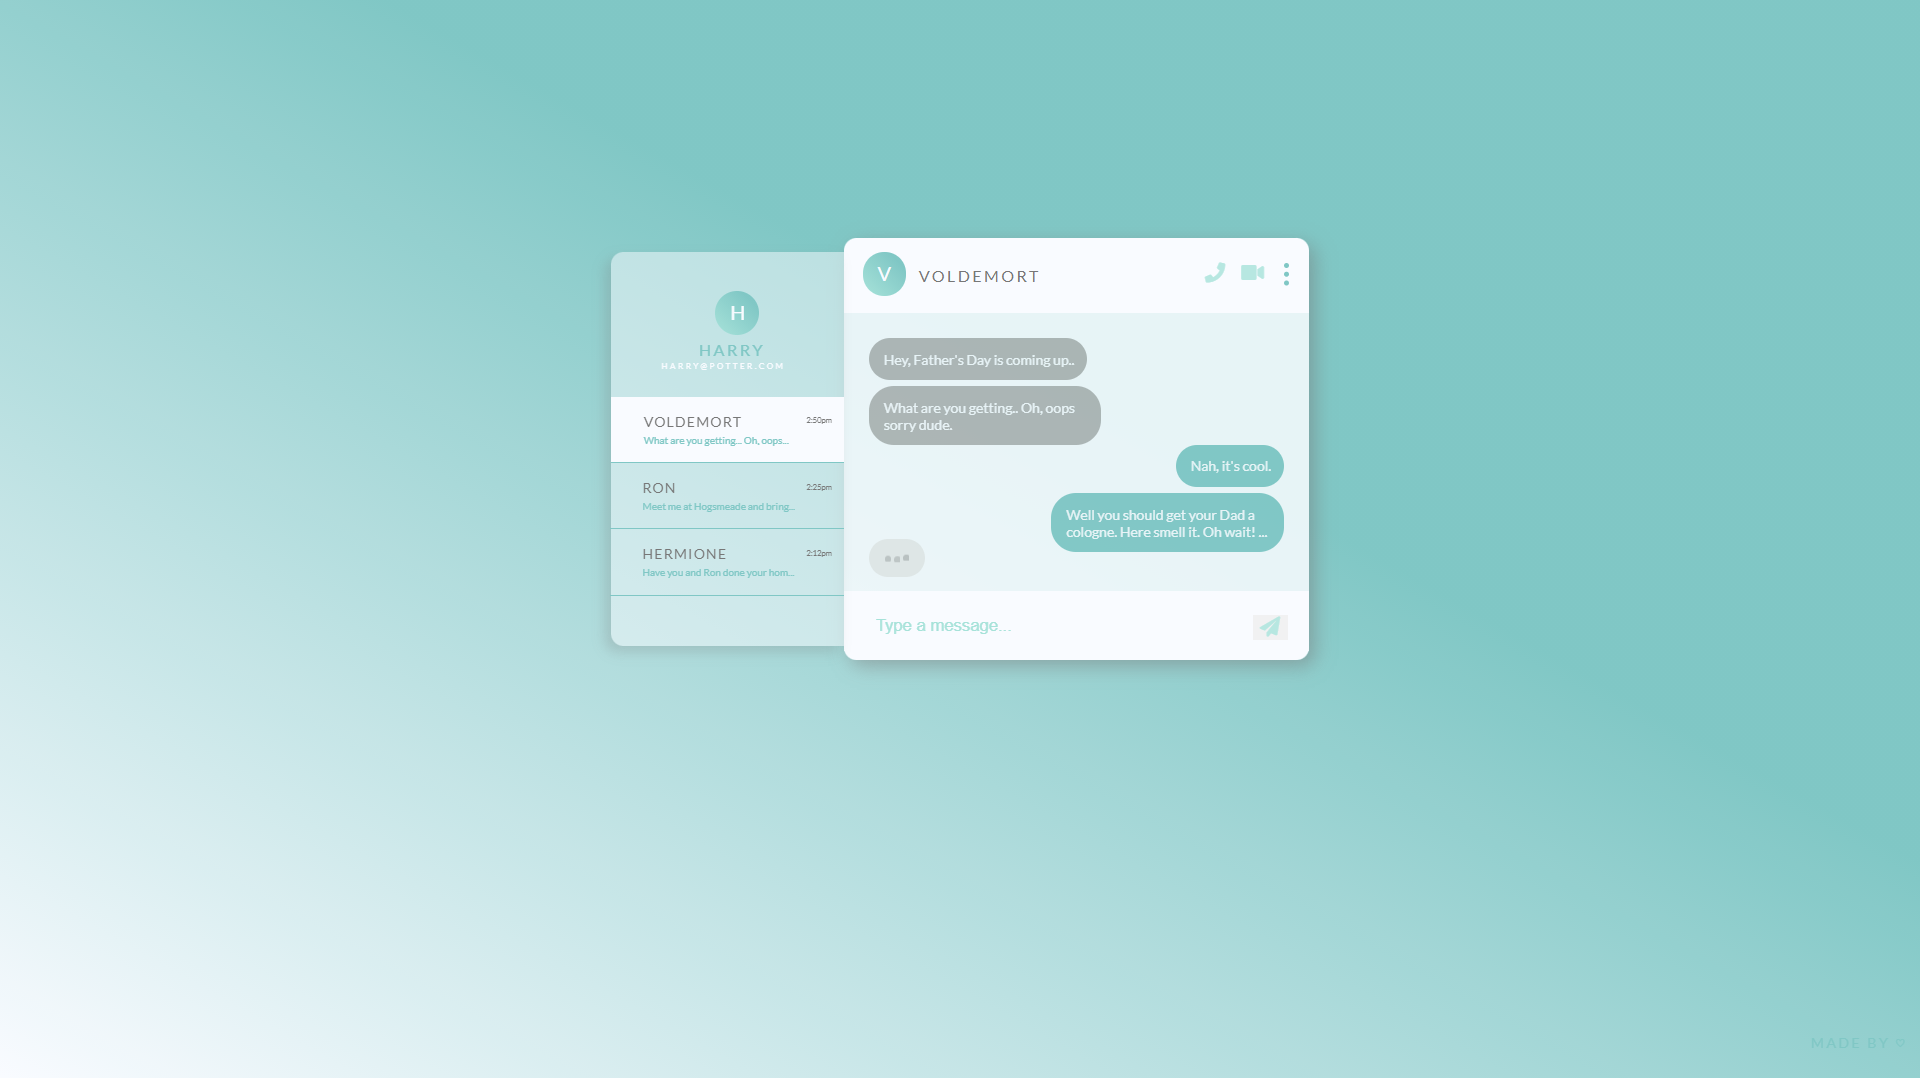
CSS Direct Messaging Example
Links
Recommended Articles
Here is a set of articles on boxes and web layout technology.